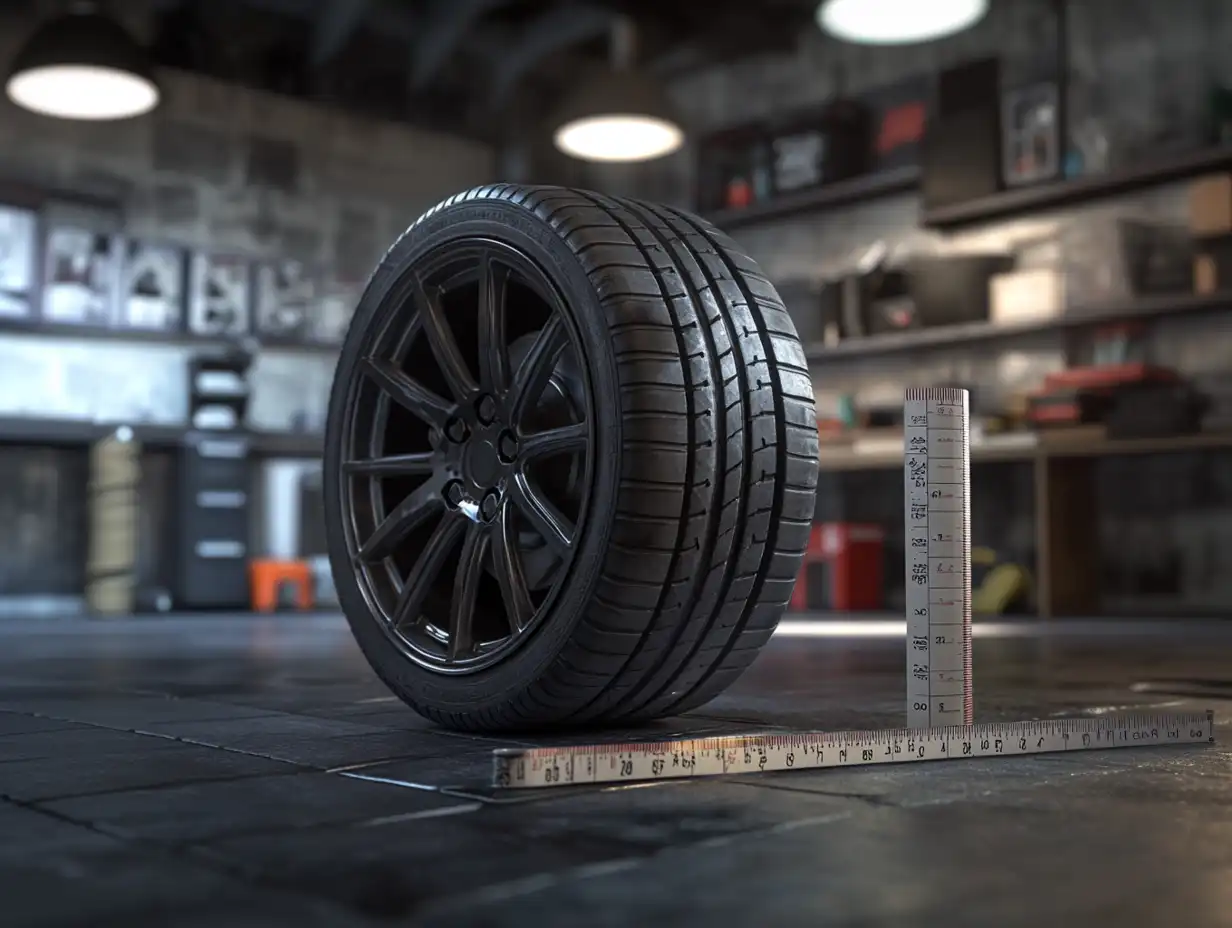
How to Fix Curb Rash on Rims Guide
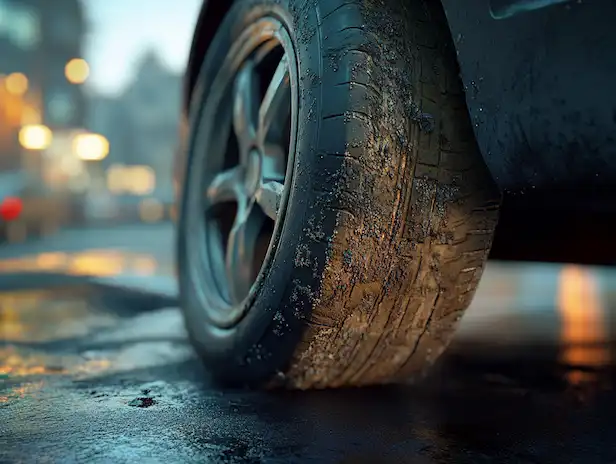
It’s a moment that every car owner dreads. You’re navigating a tight parking spot or a narrow drive-thru, and suddenly you hear it—that horrifying, scraping, grinding sound of your beautiful alloy wheel making forceful contact with a concrete curb. The result is curb rash, a series of ugly scuffs and gouges that can instantly ruin your vehicle’s pristine appearance.
Your first thought is likely, “how to fix curb rash on rims?” A quick search will reveal dozens of DIY wheel scuff repair kits and tutorials, promising a quick and cheap fix. But can a weekend project with a can of spray paint truly match the flawless, durable finish of a professional repair?
This comprehensive guide will provide an honest, in-depth look at how to fix curb rash on rims. We’ll walk through the detailed steps of a DIY repair, compare the results of a curb rash repair kit vs professional service, and give you a transparent look at the real cost to repair curb rash on rims. By the end, you’ll understand the best way to fix scraped rims to achieve a lasting, factory-perfect result.
The DIY Approach: Can You Really Fix It Yourself?
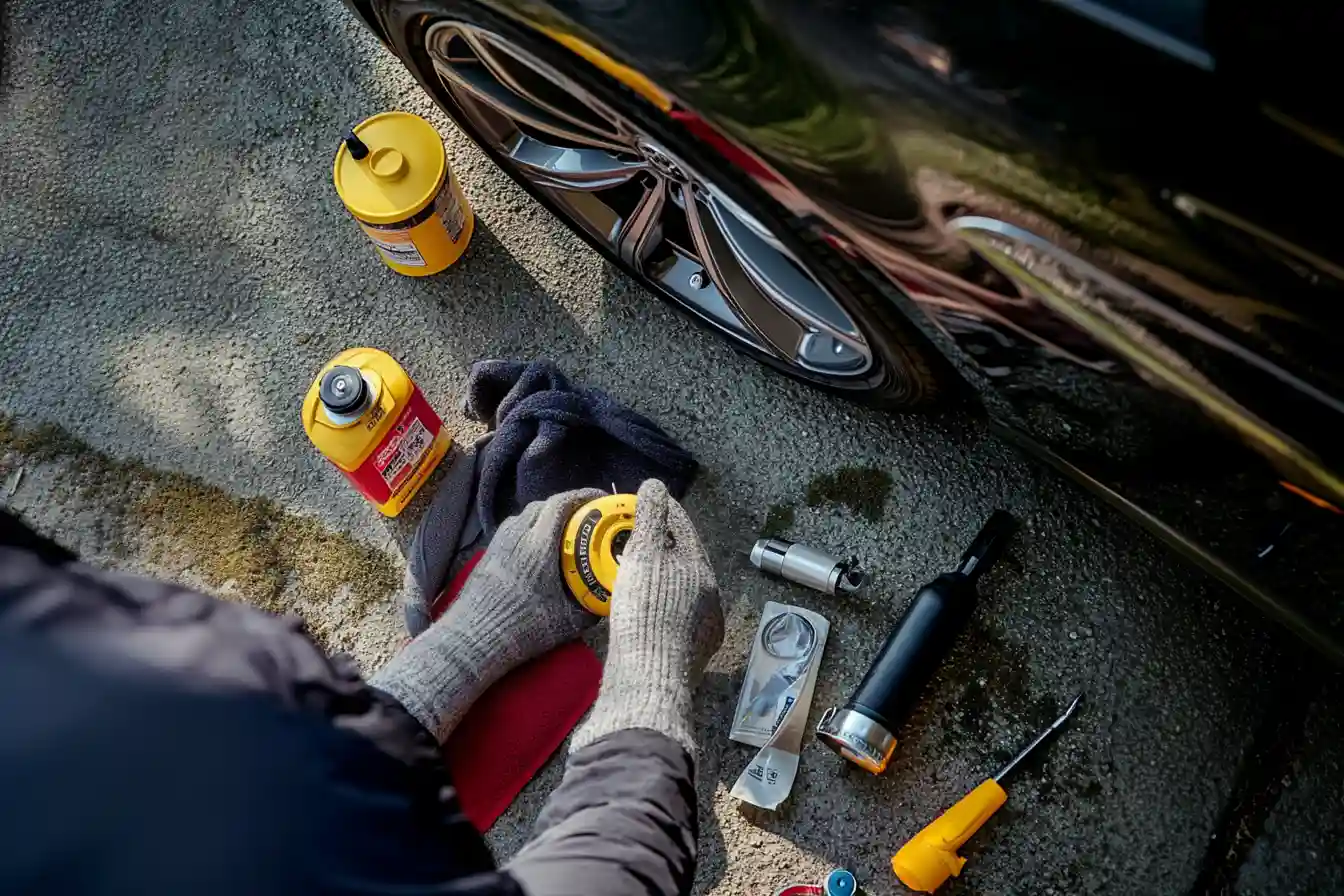
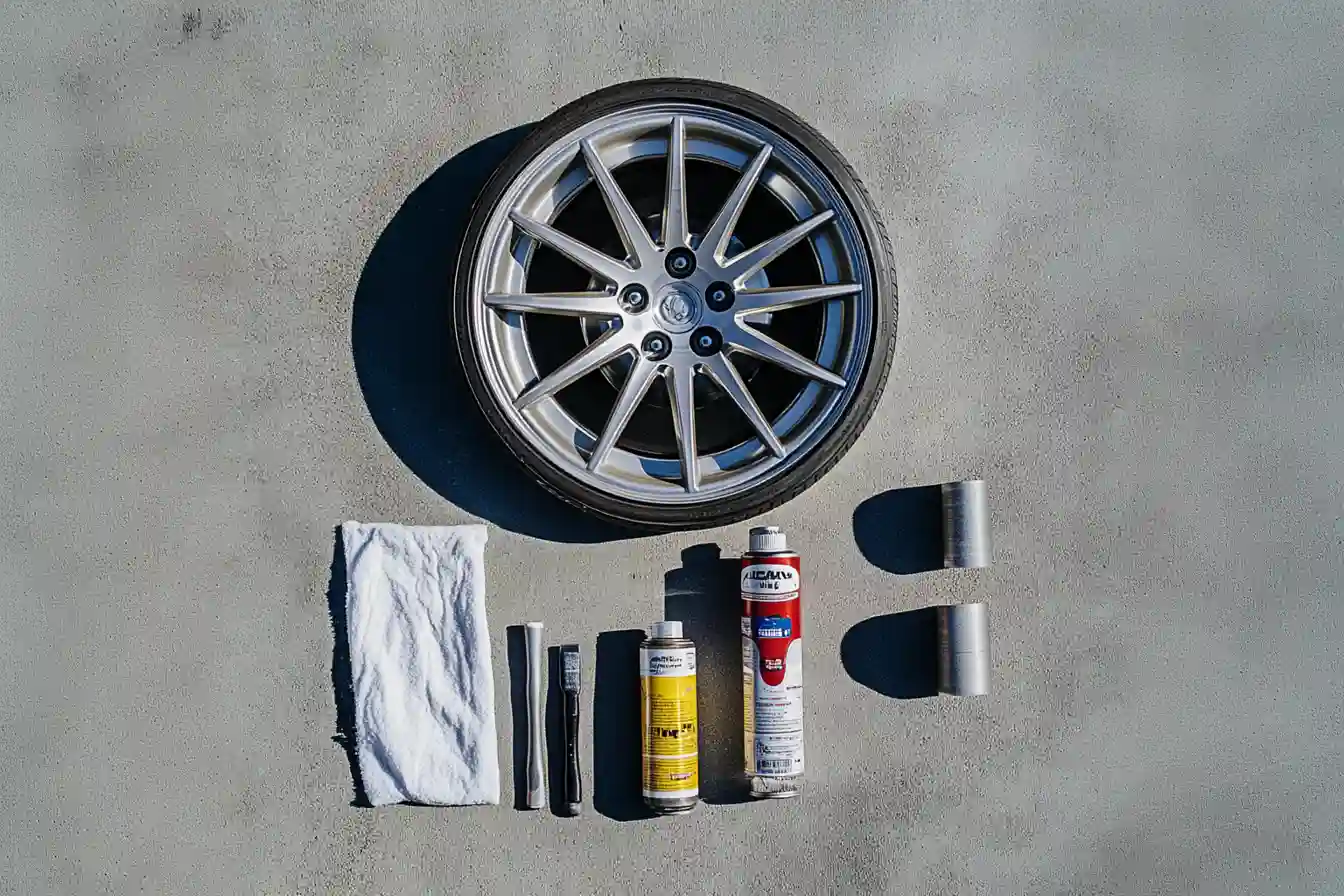
For the hands-on car enthusiast, a DIY project can be tempting. Curb rash repair kits are readily available and typically cost between $40 and $80. They usually contain sandpaper, a filler putty, masking supplies, and a can of colour-matched spray paint. While it seems straightforward, achieving a truly seamless repair is an art form that requires immense patience and attention to detail.


Here are the steps involved in a typical DIY wheel scuff repair:
Step 1: Preparation and Cleaning The wheel must be impeccably clean. Any brake dust, dirt, or road grime will prevent the filler and paint from adhering properly.
- Thoroughly wash the entire wheel with soap and water.
- Use a dedicated wheel cleaner and a degreaser to remove any stubborn contaminants.
- Dry the wheel completely.
Step 2: Masking the Area This is a critical step to protect your tire from damage and overspray.
- Deflate the tire slightly to help break the bead seal and push it away from the rim’s edge.
- Carefully insert masking tape or playing cards into the gap between the tire and the rim, creating a protective barrier around the entire circumference of the wheel.
- Use masking paper and tape to cover the rest of the tire and any parts of the wheel you don’t want to paint.
Step 3: Sanding the Damage The goal here is to smooth out the rough, jagged edges of the curb rash.
- Start with a coarse-grit sandpaper (around 180-220 grit) to sand down the deepest scratches and gouges.
- Feather the edges of the sanded area to blend it with the undamaged parts of the wheel.
- Gradually move to a finer grit sandpaper (400-600 grit) to smooth the entire area, removing the sanding marks from the coarser paper.
- Wipe the area clean with a tack cloth to remove all dust.
Step 4: Applying Filler (If Necessary) For deeper gouges where metal has been removed, you’ll need to use a metallic filler putty.
- Mix the filler according to the product’s instructions.
- Apply a thin layer of filler to the damaged areas with a small applicator, slightly overfilling the gouges.
- Allow the filler to cure completely. This can take several hours.
- Once cured, sand the filler smooth, starting with a coarser grit and moving to a finer grit, until it is perfectly flush with the contour of the wheel. This step is incredibly difficult to get right without creating flat spots.
Step 5: Priming and Painting This is where the repair either succeeds or fails.
- Apply several light coats of a high-quality automotive primer to the repaired area, allowing each coat to dry.
- Lightly sand the primer with a very fine grit sandpaper (1000-1500 grit) until it is perfectly smooth.
- Apply several thin, even coats of the colour-matched spray paint. The key is to use light, sweeping motions to avoid runs and drips.
- Allow the paint to dry completely between coats.
Step 6: Applying Clear Coat The final step is to apply a protective clear coat to match the gloss of the original finish and protect the new paint.
- Apply 2-3 light, even coats of a high-quality automotive clear coat.
- Allow the clear coat to cure fully, which can take 24 hours or more.
The Harsh Reality of DIY Wheel Scuff Repair
While the steps above sound manageable, the reality is that achieving a professional-looking result is extremely challenging for an amateur.
- Colour Matching: The “silver” on your wheels is not just one colour. There are thousands of shades. The paint in a DIY kit will almost never be a perfect match, leaving a noticeable patch on your wheel.
- Achieving a Smooth Finish: It is incredibly difficult to sand the filler perfectly to match the complex curves of a wheel. Most DIY repairs result in visible flat spots or an uneven texture.
- Durability Issues: The aerosol paint and clear coat in a DIY kit are not as durable as the professional-grade materials used by experts. They are far more likely to chip, peel, or fade over time.
- The Time Investment: A proper DIY repair is not a one-hour job. It can easily consume an entire weekend when you factor in all the sanding, filling, and drying times.
The Professional Solution: Mobile Alloy Rim Repair
The best way to fix scraped rims is to call a professional. A mobile service like The Rim Guy combines expert craftsmanship with unparalleled convenience, delivering a flawless repair right at your home or office.
Here’s how the professional process compares:
- Expert Damage Assessment: A technician first assesses the damage to determine the precise repair strategy.
- Professional Tools: We use high-speed sanders, specialized fillers, and professional-grade painting equipment.
- Computerized Colour Matching: We don’t guess the colour. We use a computerized system to find the exact paint code for your specific wheels, ensuring a perfect, invisible repair.
- Flawless Blending: Our technicians are artists. They can blend the repaired area into the rest of the wheel so that the damage is completely undetectable.
- Durable, Factory-Grade Materials: We use high-quality primers, paints, and clear coats that are designed to withstand the harsh conditions of the road, providing a finish that is as durable as it is beautiful.
- Speed and Efficiency: A professional can typically repair a curbed wheel in just 1-2 hours, not an entire weekend.
Curb Rash Repair Kit vs Professional: A Head-to-Head Comparison
Let’s break down the key differences to help you make an informed decision.
Table 1: DIY Curb Rash Repair vs. Professional Mobile Service
| Feature | DIY Curb Rash Repair Kit | Professional Mobile Service (The Rim Guy) |
|---|---|---|
| Cost | $40 – $80 | $125 – $225 per wheel |
| Quality of Finish | Low to Moderate. Often results in a visible patch with imperfect colour match and texture. | Flawless. Invisible repair with a perfect colour match and factory-grade gloss. |
| Durability | Low. Prone to chipping, peeling, and fading over time. | High. Uses professional-grade materials designed to last for years. |
| Time Investment | 4 – 8+ hours (spread over a weekend due to drying times). | 1 – 2 hours. Completed on the spot while you wait. |
| Skill Required | High. Requires significant patience, a steady hand, and an eye for detail. | None. Performed by a certified, experienced technician. |
| Warranty | None. If you’re not happy with the result, you’re out of luck. | Yes. The Rim Guy provides a 1-year warranty on all our work. |
What is the Real Cost to Repair Curb Rash on Rims?
When you look at the table, the true cost to repair curb rash on rims becomes clear. While a DIY kit is cheaper upfront, the value is low. You invest an entire day or more of your valuable time for a subpar result that will likely need to be redone. Many of our jobs, in fact, involve fixing poorly done DIY attempts.
A professional repair, while costing more initially, provides a guaranteed, flawless, and durable result that protects your vehicle’s value and appearance. When you factor in the time saved and the quality of the finish, a professional mobile service is the far superior investment.
Conclusion: The Best Way to Fix Scraped Rims is to Call a Pro
Learning how to fix curb rash on rims is a noble goal, but the reality is that the tools, materials, and skills required for a perfect finish are beyond the reach of most DIY kits. The subtle curves, complex paint colours, and durable finishes of modern alloy wheels demand a professional touch. Don’t risk devaluing your vehicle with a patchy, amateur repair that can actually lower its resale value. For more tips on maintaining your vehicle’s value, resources like Edmunds.com provide excellent car maintenance guides.
The best way to fix scraped rims is to invest in a professional service that guarantees a flawless, durable, and convenient solution. The Rim Guy’s mobile service brings expert craftsmanship right to your doorstep, erasing curb rash and restoring your wheels to their factory-perfect condition in just a couple of hours. If you’re ready for a perfect finish, learn more about our expert Rim Refinishing service and contact us today for a free, no-obligation quote!