Returning a leased car can feel like finals week for your wheels—every scratch, scuff, or tiny bend will be graded, and rim damage lease fees add up fast. The inspector’s clipboard sees what you’ve been ignoring: curb rash, powder-coat flake, tiny barrel dents from that February pothole. Luckily, a strategic rim repair lease return plan can keep hundreds (sometimes thousands) of dollars in your pocket.
In this deep dive, you’ll discover:
- How lease inspections measure wheel damage and set penalty charges.
- A cost-comparison table showing repair bills vs dealer deductions.
- A time-line checklist (six weeks → inspection day) so you don’t scramble last minute.
- DIY touch-up tricks vs professional refinishing—when each makes sense.
- Preventive habits to avoid rim damage next lease cycle.
- An external link to a major OEM’s wear-and-tear guide for extra reading, plus an internal link to our GTA mobile service if you need backup.
Why Rims Make or Break Your Inspection
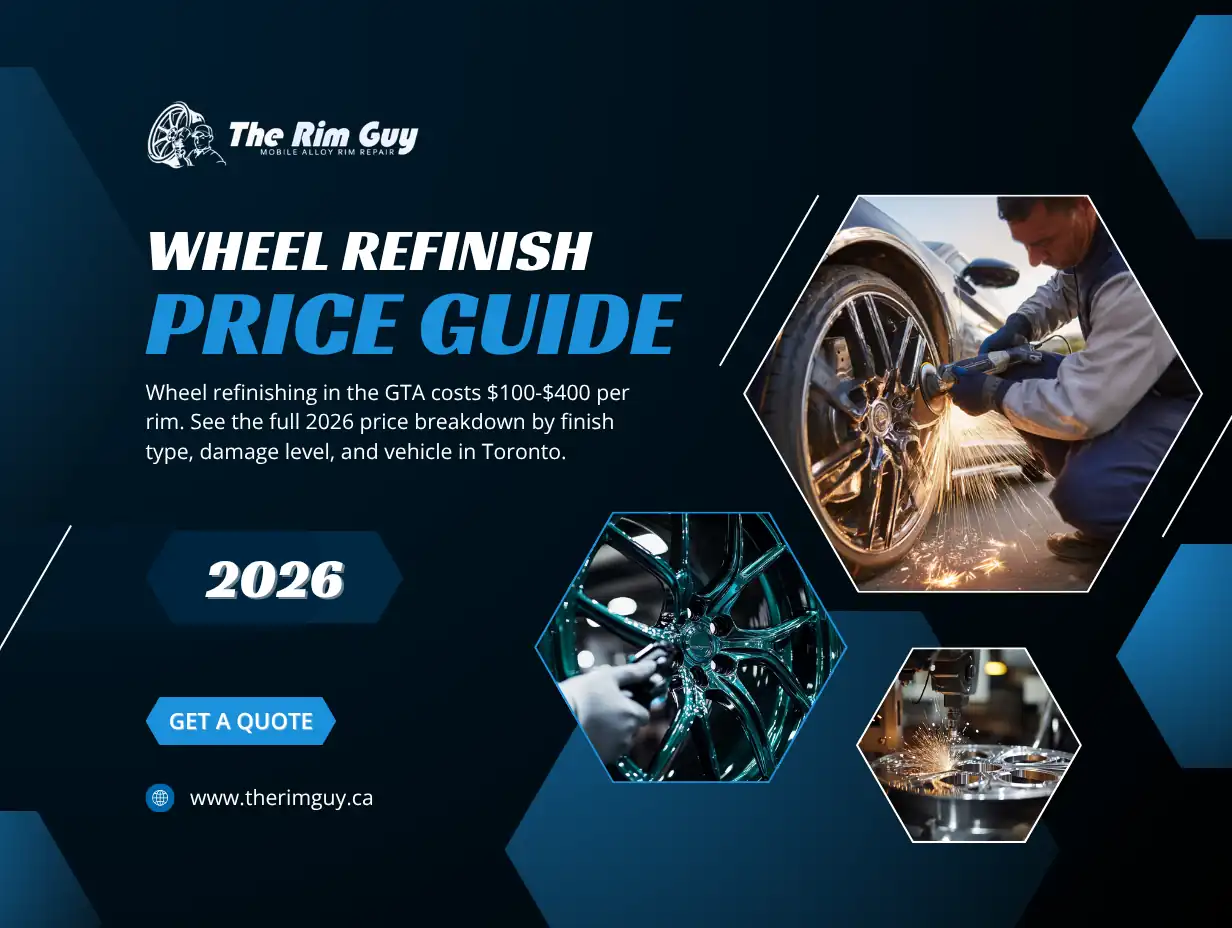
Leasing companies treat wheels as high-value wear items. Most allow “cosmetic scratches under 2 inches” but charge for deeper gouges, exposed metal, bends, or cracks. Because wheels list at $600–$1,200 each at dealer pricing, even one damaged rim can push your penalty north of $250—multiply that by four and you’ll wish you’d scheduled a quick refinish.
Important: inspectors rarely measure paint chips elsewhere on the car if obvious wheel damage already exceeds the “excess wear” threshold. Address rims first; the rest often falls within normal limits.


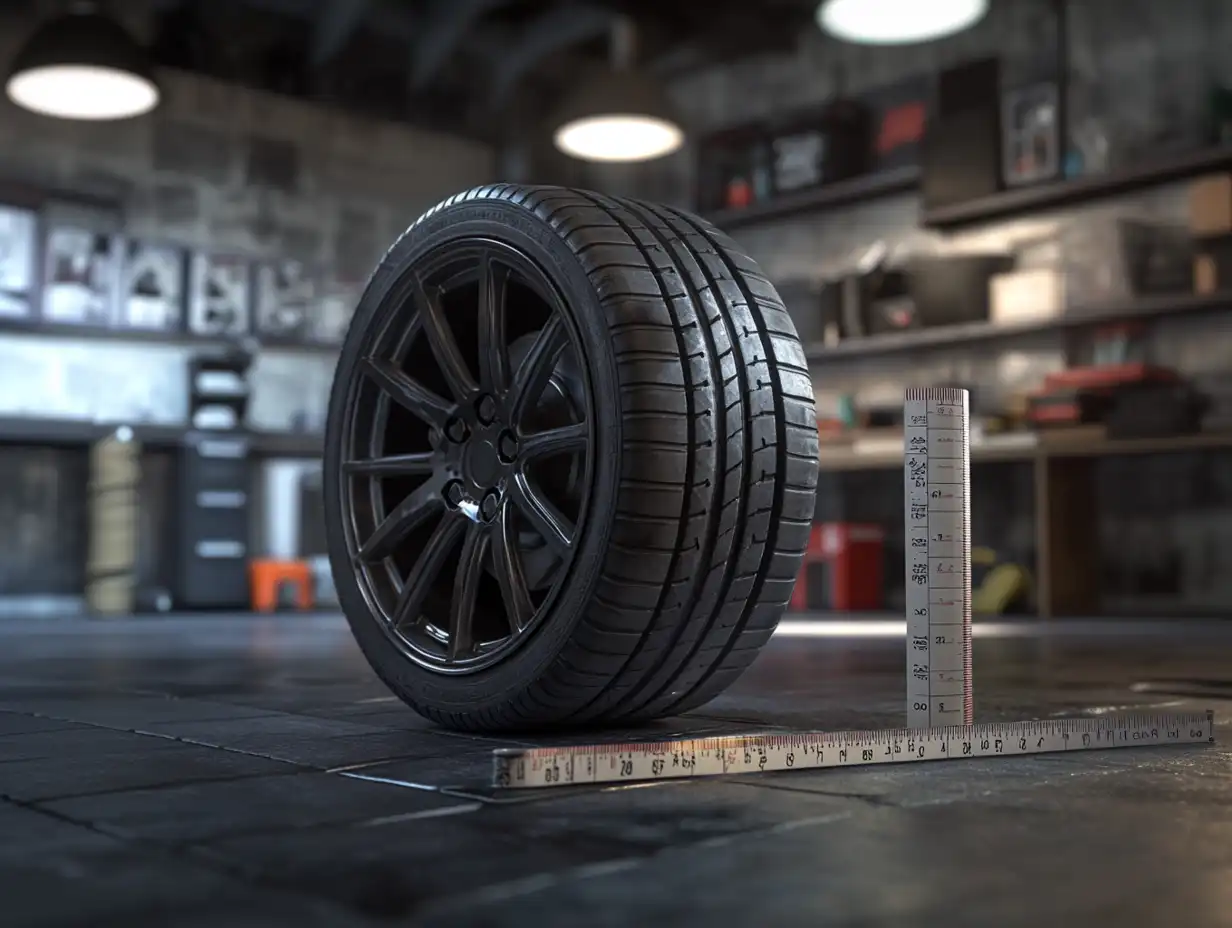
🔍 How Inspectors Score Wheel Condition
| Inspection Metric | Pass (No Charge) | Borderline | Fail (Penalty) | Typical Dealer Fee (GTA) |
|---|---|---|---|---|
| Curb Rash Length | ≤ 2 in (cosmetic) | 2–3 in with no metal exposed | > 3 in or metal showing | $150–$250 per wheel |
| Depth of Gouge | Surface scuff only | < 1 mm deep | > 1 mm or into barrel | $150–$300 |
| Bent Lip / Barrel | None | < 1 mm hop | > 2 mm hop (dial gauge) | $200–$400 |
| Cracked Wheel | None | Hairline; weldable | Visible crack; replacement | $600–$1,200 |
| Peeling Clear-Coat | None | < 25 % of face | > 25 % or pitting | $150–$200 |
Pro tip: Inspectors bring a plastic gauge to prove gouge depth. If fingernail snags hard, they mark “fail.”
💸 Fix Now or Pay Later? Rim Repair Lease Return Cost Comparison
| Scenario | Dealer Penalty | Independent Repair | Net Savings |
|---|---|---|---|
| One wheel, 4-inch curb rash | $225 | Refinish $160 | $65 |
| Two wheels, light barrel bend + rash | $450 | Straighten + refinish $300 | $150 |
| Three wheels, peeling clear + oxidation | $600 | Powder clear refinish $450 | $150 |
| One cracked wheel (replace) | $800 | Weld + refinish $180 | $620 |
| Four wheels scuffed (leased SUV) | $900 | Bundle refinish $600 | $300 |
Even after taxes, fixing rims before lease return undercuts dealer deductions almost every time—especially if you bundle multiple wheels.
🗓️ Lease Return Wheel-Prep Timeline
- 6 weeks out: Walk around each wheel in bright light. Mark rash and look for slow leaks. Book a repair slot—spring and fall fill quickly.
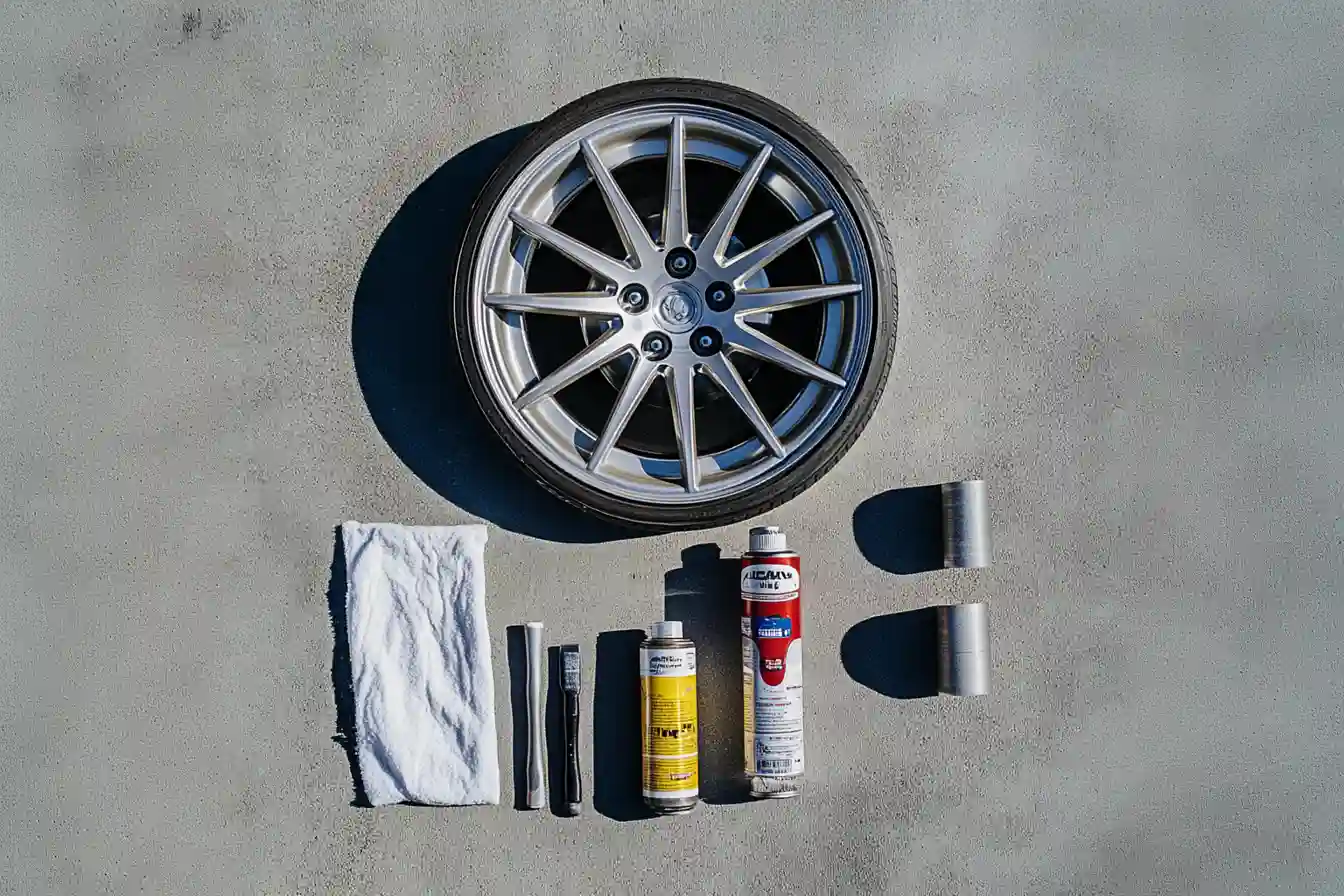
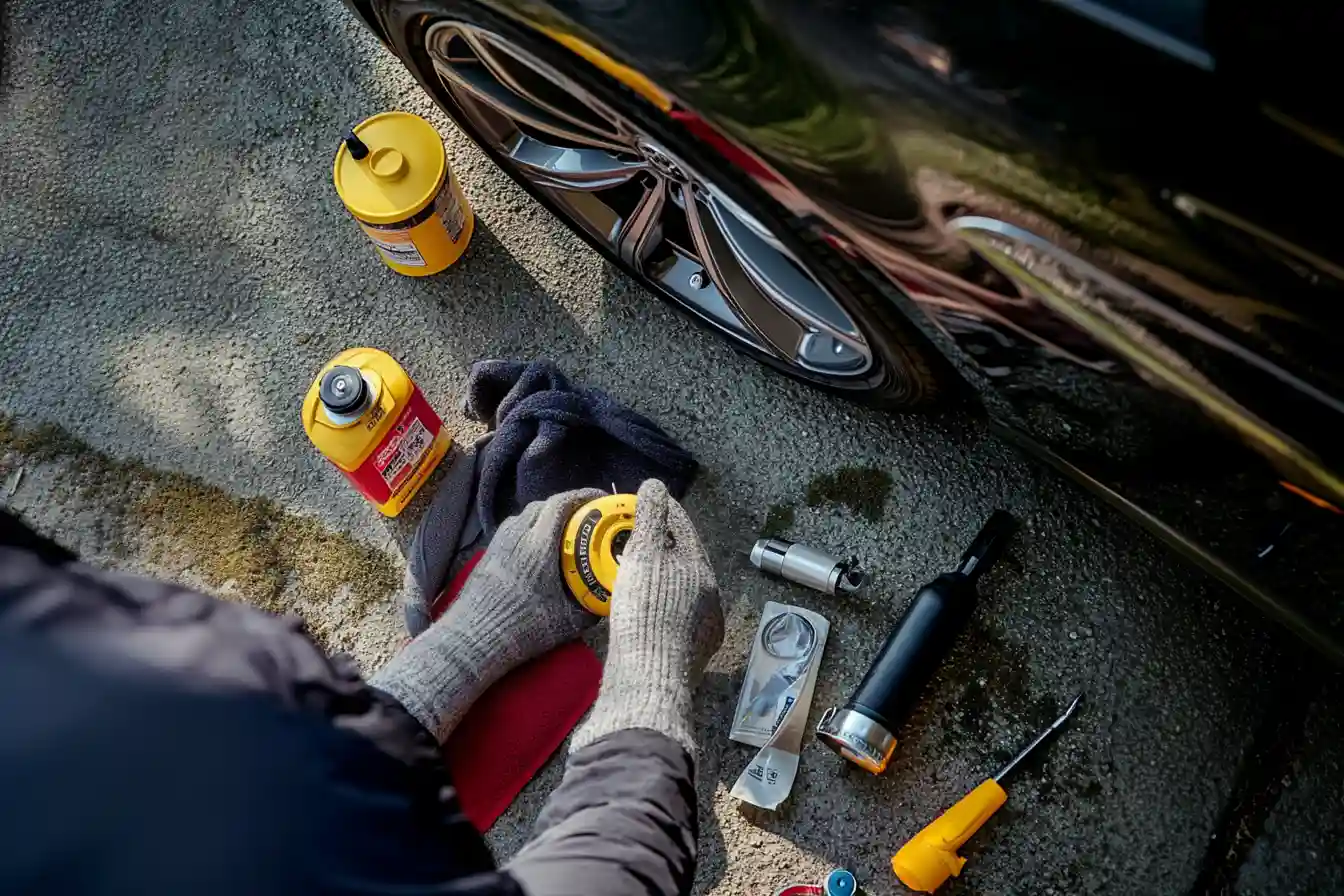
- 4 weeks out: Gather touch-up tools if going DIY (fine sandpaper, colour-match paint, 2K clear, masking supplies).
- 3 weeks out: If bends or cracks suspected, schedule shop inspection; welding or straightening needs curing time before refinishing.
- 2 weeks out: Repair or refinish wheels. Leave a few days buffer in case colour chips need re-spray.
- 1 week out: Wash wheels thoroughly. Apply ceramic spray so they gleam under inspector’s flashlight.
- Inspection Day: Inflate tires to spec—low psi exaggerates dings. Bring repair receipts; some lessors waive charges if proof of professional fix is present.
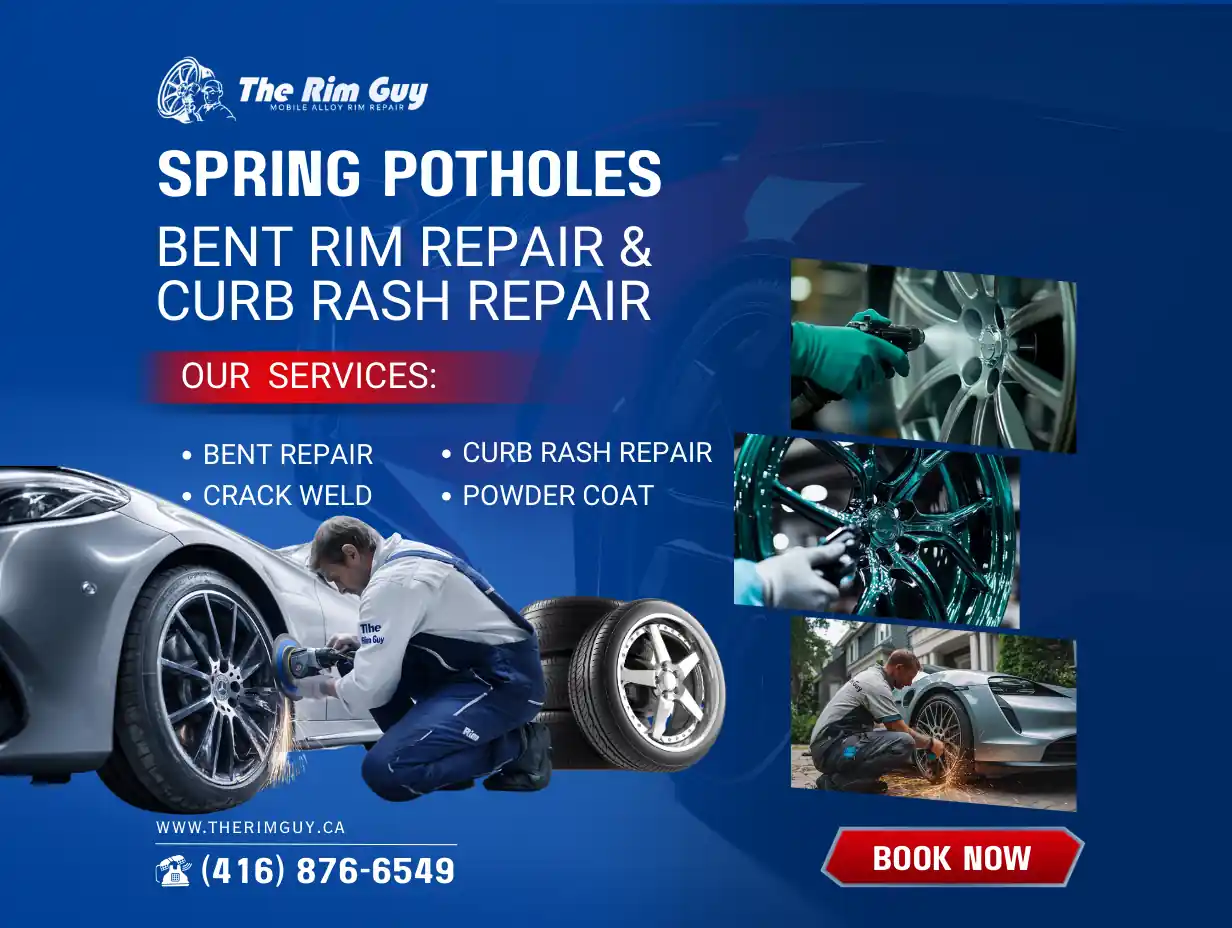
🧰 DIY vs Professional Wheel Repair Before Inspection
| Factor | DIY Touch-Up | Pro Refinish |
|---|---|---|
| Cost (per wheel) | $30–$60 (materials) | $150–$180 |
| Time | 3–4 h spread over 2 days | 24–48 h drop-off |
| Skill Needed | Steady hand, masking patience | None |
| Finish Durability | Low (1–2 winters) | High (4–6 winters) |
| Bends/Cracks Fixed | No | Yes |
| Inspector Pass Odds | Good for tiny rash | Nearly certain |
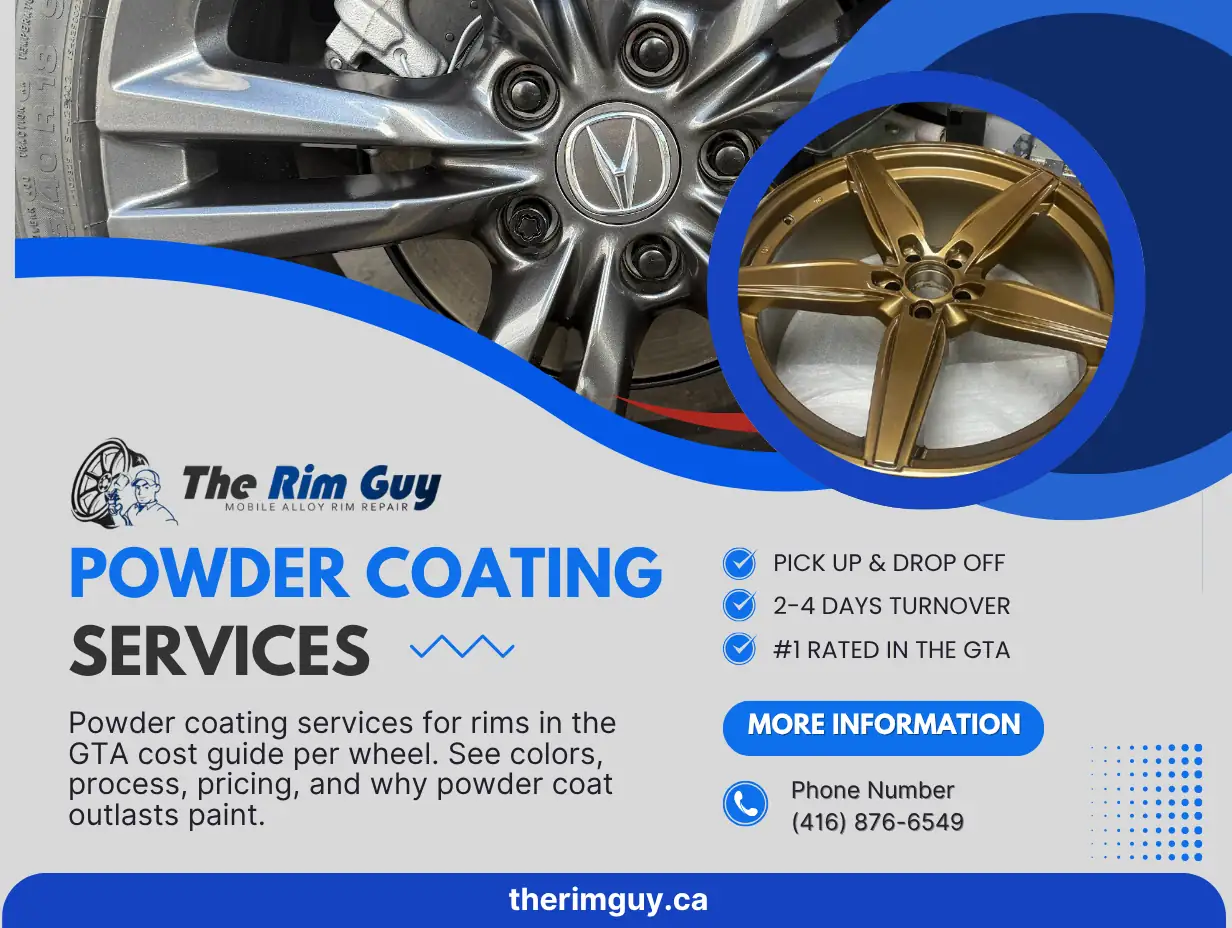
DIY wins when rash is shallow, under 2 inches, and time is plentiful. Pro service wins for deeper gouges, bends, or any clear-coat failure—the things that trigger rim damage lease fees instantly.
🚀 Success Story: Crushing the Invoice
Sarah leased a 2021 Audi Q5. Three wheels wore nasty curb lines, one had a dime-size clear-coat peel. Audi’s pre-inspection quote: $750. She booked The Rim Guy’s mobile refinish: $540, bronze satin powder with OEM gloss clear. Final inspection? $0 wheel charges. She pocketed $210—plus a pride boost handing back wheels shinier than day one.
🛡️ Prevention Hacks for Your Next Lease
- Tilt passenger mirror down whenever parallel-parking.
- Add PVC rim-edge protectors (cheap sacrificial layer).
- Keep tires at the higher side of factory PSI; soft sidewalls pinch on potholes.
- Rinse wheels weekly in winter—salt amplifies clear-coat peel.
- Rotate tires every 8,000 km to level out camber wear that inspectors flag.
Adopt these habits and your wheel repair before inspection list will be shorter—or nonexistent—next lease cycle.
📚 External Resource
Audi Canada’s Wear & Tear Guide (PDF) details exactly how wheel damage is measured across multiple brands. Even if you drive another make, the ruler marks are similar—worth bookmarking.
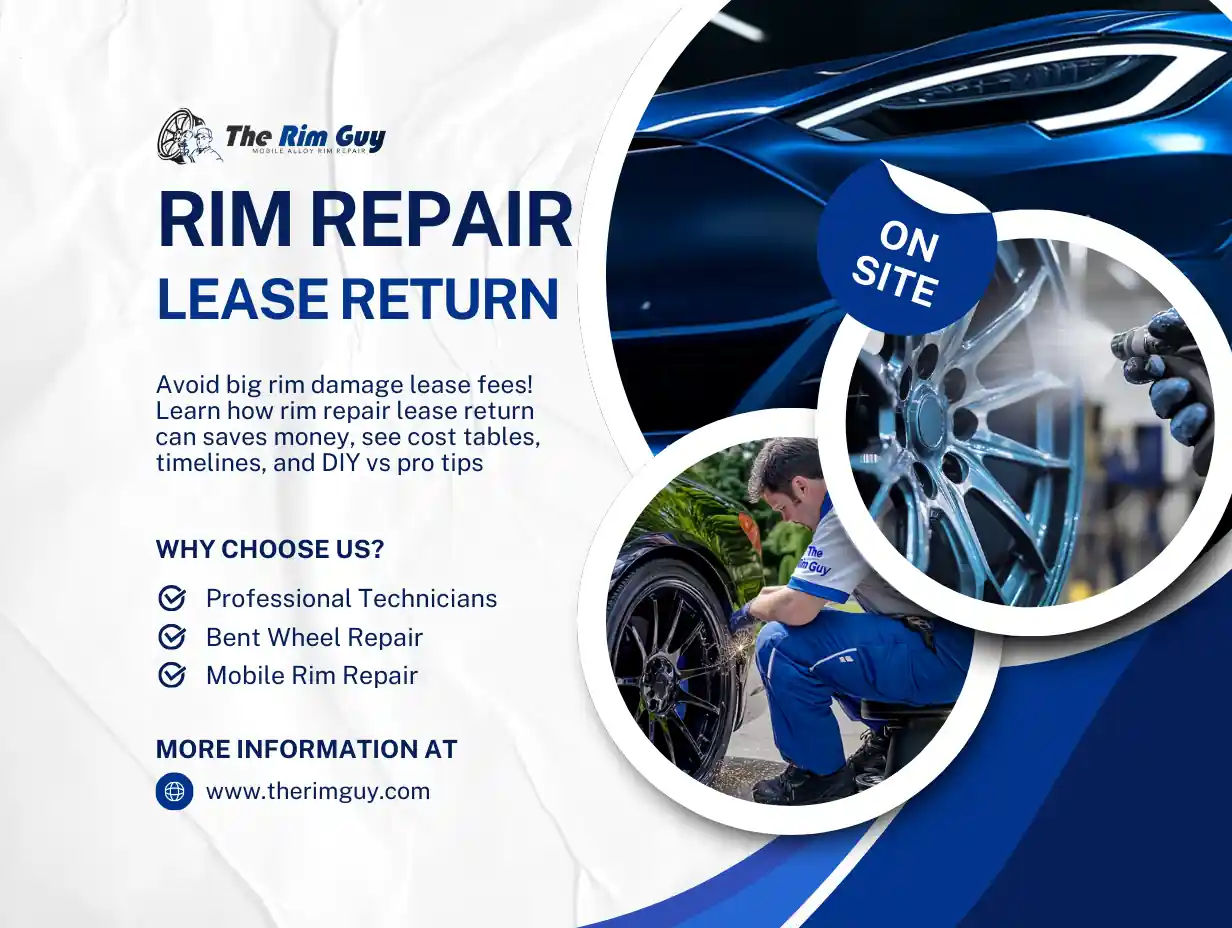
🔧 Internal GTA Solution
Rash deeper than a credit card? Bent barrel causing a slow leak? Our mobile unit will rim repair lease return wheels across the GTA—pickup, weld or straighten, powder-coat, and drop back within 48 hours. Check bundles on the main Rim Guy page and book before your inspection date sneaks up.