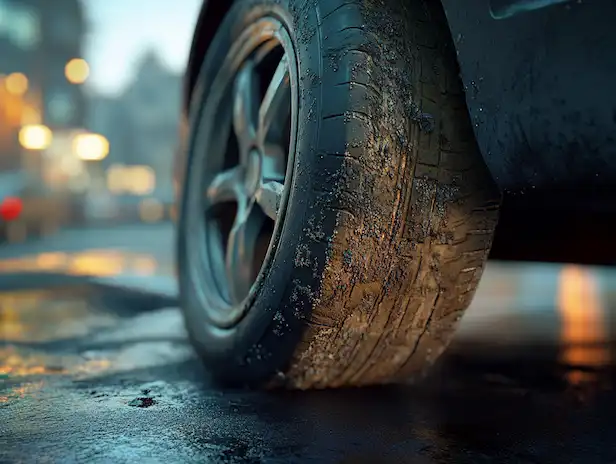
Many drivers consider rim blemishes an unfortunate fact of city driving: you’re maneuvering into a tight parallel parking spot, misjudge the distance to the curb, and suddenly there’s a scraping sound. What you’re left with is the all-too-common rim curb rash, a scuff or gouge along the outer edge of your wheel. While the initial damage may appear purely cosmetic, overlooking it can lead to deeper issues like corrosion, potential structural problems, and a lowered resale value. In this blog post, we’ll take an in-depth look at Rim Curb Rash Repair, from the fundamental causes and severity assessment to both do-it-yourself remedies and professional solutions.
By exploring how to fix a rim rash DIY style and contrasting it with expert approaches, you can make an informed decision about which path suits your needs, budget, and comfort level. Throughout the guide, we’ll incorporate real-life examples, tables for quick reference, and practical tips on preventing repeated curb-rash mishaps. Let’s jump in!
Why Rim Curb Rash Matters
A scratched or gouged rim may seem like a minor annoyance, but letting rim curb rash linger can have consequences:
- Accelerated Corrosion: Once the protective coating is breached, moisture and road salts have an easier time penetrating the bare metal.
- Potential Rim Weakness: Though not always the case, deeper abrasions can lead to microcracks over time.
- Lowered Aesthetics & Value: Curb-rash rims give the impression of poor upkeep, potentially reducing resale or trade-in offers.
- Ongoing Repair Costs: If the initial damage isn’t fixed properly, repeated scuffs or slow corrosion might demand more costly solutions later.
By treating the problem promptly, you preserve both style and safety.


Common Causes of Curb Rash
To tackle Rim Curb Rash Repair effectively, understand the typical scenarios leading to this all-too-familiar damage:
- Miscalculated Parking: Tight urban spaces are prime areas for accidental wheel scrapes.
- Poor Visibility in Rain or Dark: Low light or wet roads make it harder to judge curb distance.
- Over- or Underinflated Tires: Inadequate tire pressure can change how the rim meets the pavement.
- Sharp Turns Near Curbs: Narrow driveways or corners with high edges frequently introduce rim rash.
Knowing these triggers can help you adjust driving habits, thereby reducing future damage.
Assessing Rim Damage Severity
Before you decide on a rim curb rash repair, gauge how deep the curb rash goes. Here’s a simple breakdown:
| Damage Level | Characteristics | Recommended Repair Approach |
|---|---|---|
| Light Scuffs | Affects only the clear coat or surface paint | DIY sanding & paint, basic filler if needed |
| Moderate Gouges | Metal exposure, potential for minor corrosion | More thorough filler, possibly pro refinishing |
| Severe Abrasions | Deep gouges, visible structural risk, or cracks | Professional welds, reshaping, full refinishing |
Tip: If your fingernail catches in the scratch or gouge, you’re likely dealing with moderate or severe damage.
DIY Rim Curb Rash Repair
When DIY Makes Sense
A do-it-yourself approach can be appealing if the curb rash is largely cosmetic—like light scuffs and minor paint chipping. Additionally, if you have some familiarity with sanding and painting techniques, you may find a rim rash DIY fix cost-effective. Here are conditions favoring a DIY approach:
- Minor abrasions that don’t expose too much bare metal
- A single, localized scratch or scuff rather than multiple deep gouges
- Confidence in basic sanding, painting, and color-matching tasks
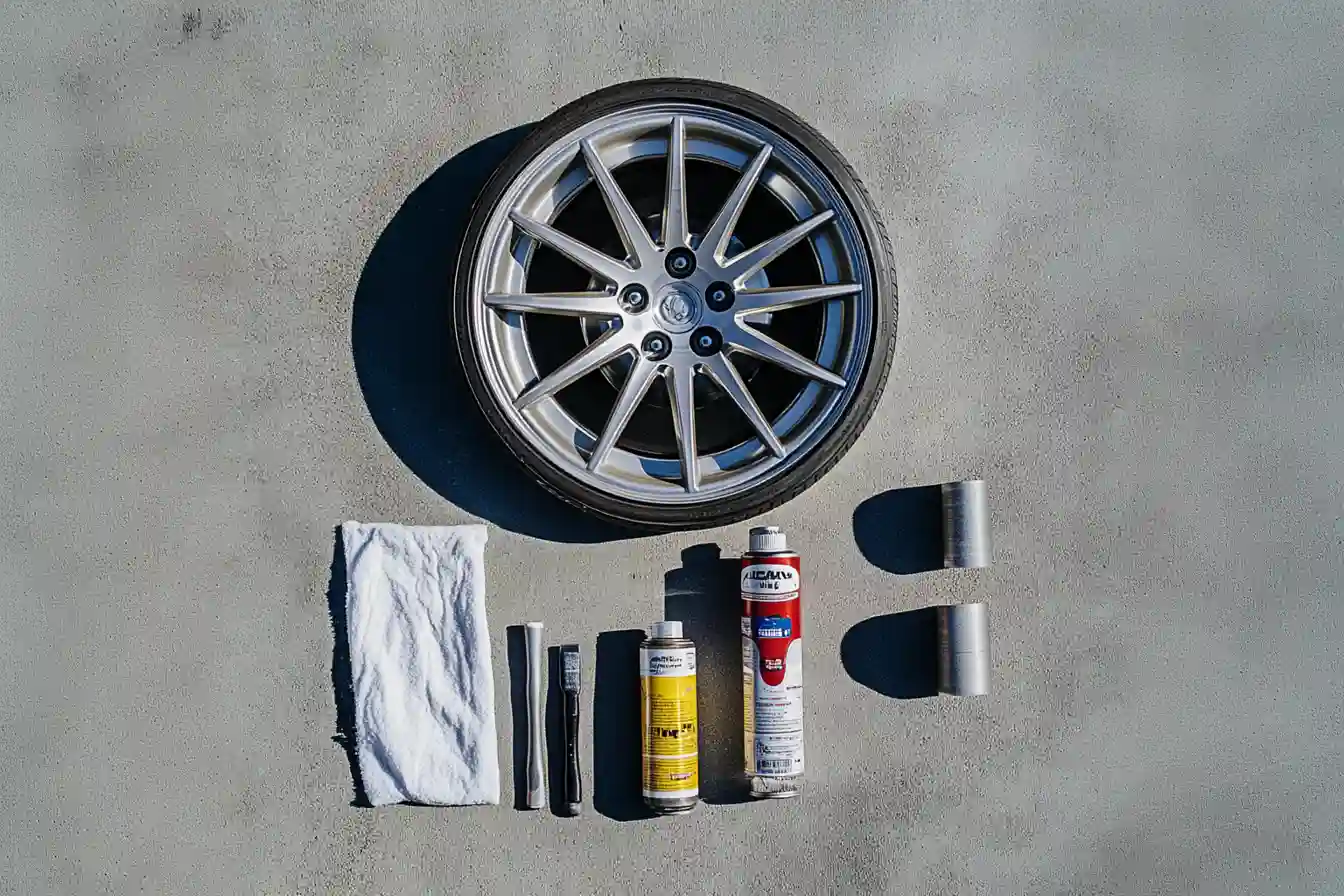
Materials Needed
| Item | Purpose |
| Fine-Grit Sandpaper (320–600) | To smooth surface scratches |
| Wheel Filler/Body Putty | Fill deeper gouges before paint application |
| Automotive Primer | Ensures paint adhesion and seals bare metal |
| Matching Wheel Paint | Reproduces factory or custom finish |
| Clear Coat | Protects the repaired surface from elements |
| Microfiber Cloths | Clean the rim without scratching further |
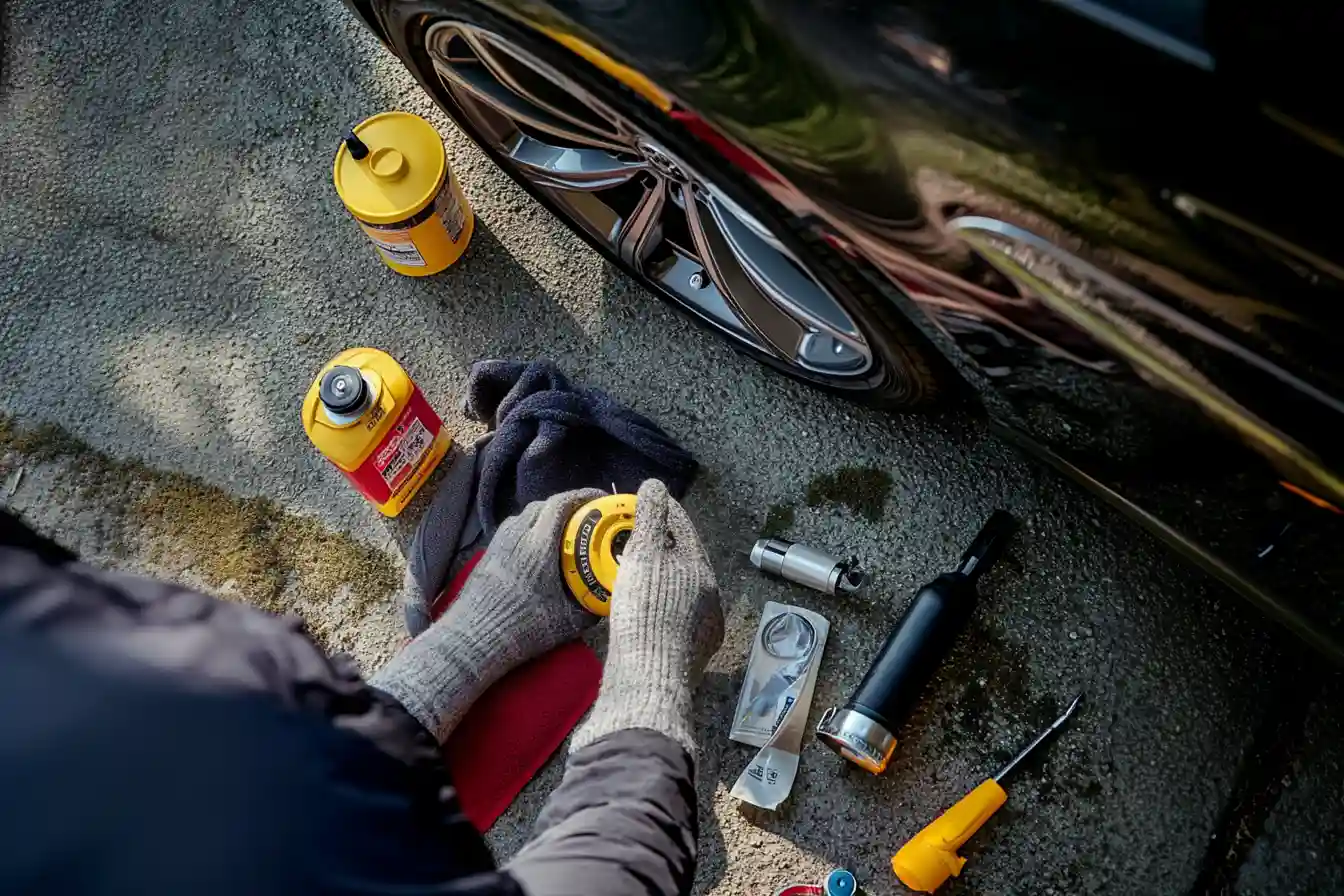
Rim Rash DIY Steps in Detail
- Clean Thoroughly: Use a wheel-safe cleaner and soft brush to remove brake dust and road grime. This step prevents contaminants from embedding into the filler or paint.
- Sand the Area: Grab fine-grit sandpaper to smooth out the scuff. Work gently around the edges to feather the paint, blending old and new surfaces.
- Apply Filler: If the curb rash is deep enough to expose metal, use a wheel-specific filler. Follow the product’s instructions for mixing and curing times. Once the filler hardens, sand it again to achieve a flush finish.
- Prime the Surface: A light coat of primer locks out moisture, preventing corrosion. Allow adequate drying time; re-sand lightly if necessary.
- Paint & Clear Coat: Using thin, even layers, apply matching wheel paint. After it sets, seal the job with clear coat to maintain gloss and durability.
Pros: Lower material cost, scheduling flexibility, personal satisfaction.
Cons: Risk of mismatched color or uneven finish, potential rework if cracks or deeper damage is overlooked.
Professional Rim Curb Rash Repair
While a DIY job can address minor scrapes, severe curb rash often calls for the expertise of a professional rim repair service.
Typical Professional Techniques
- Surface Stripping: Technicians remove old paint or corrosion to expose the true extent of damage.
- Welding & Shaping: Deeper gouges or cracks may need TIG or MIG welding, followed by reshaping on specialized machinery.
- Precision Sanding: Using orbital sanders or CNC lathes, professionals ensure uniform thickness and a flawless rim edge.
- Powder Coating or Advanced Paint: Many shops offer robust coatings that resist chips, corrosion, and further curb rash.
Advantages of Going Pro
- Quality Assurance: Skilled technicians spot subtle issues DIY enthusiasts might miss—like hairline fractures.
- Reliable Finish: Expert color matching and strong protective coats deliver near-factory or better aesthetics.
- Warranties: Many shops provide short-term guarantees against peeling or bubbling.
- Advanced Tools: Pros have hydraulic presses, specialty welding rigs, and paint booths, which a typical DIYer lacks.
Drawbacks: Higher upfront cost, plus the inconvenience of leaving your vehicle at the shop.
Comparing DIY vs. Professional
| Factor | DIY Approach | Professional Approach |
| Cost Range | $20–$100 (materials only) | $75–$400+ per wheel, depending on severity |
| Skill Level Required | Moderate – sanding, painting, color matching | Specialized – welding, re-balancing, powder coating |
| Finish Quality | Variable – depends on technique and materials | High-quality, near-factory finish |
| Time & Convenience | Flexible schedule, but potentially lengthy work | Quick turnaround if you find a reputable rim repair service |
| Risk of Rework | High if the damage is beyond superficial | Generally lower due to professional inspection and warranty |
Curb Rash Repair Costs: What to Expect
Cost can be the deciding factor in choosing between DIY fixes and professional services for Rim Curb Rash Repair. Basic surface scuffs might only need $30 in supplies, but significant gouges or hairline fractures can lead to a $200–$300 pro bill per wheel.
Factors Influencing Cost
- Damage Depth: The deeper the scratch, the more filler or welding needed.
- Wheel Material: Alloy rims are most common, while chrome or specialty finishes demand more labor.
- Paint/Coating Complexity: Metallic or multi-stage finishes can raise the final bill.
- Location and Labor Rates: Urban shops might charge more but have advanced tech, whereas smaller towns could be cheaper but less specialized.
- Add-On Services: Additional balancing, alignment checks, or powder coating add to the total.
Real-World Example
A driver with a set of aftermarket alloy rims incurred moderate curb rash on two wheels during a tight downtown parking attempt. Initially, they tried a rim rash DIY approach, spending $60 on sandpaper, filler, and matching paint. While one rim looked passable afterward, the second rim revealed deeper scratching than expected—leading to partial peeling of the new paint within a few weeks. Ultimately, the driver turned to a professional rim repair shop, which charged $200 total for re-sanding, color matching, and applying a protective clear coat on both wheels. Factoring in the initial DIY costs, it might have been cheaper in the long run to have both rims professionally restored at the outset.
Tips to Prevent Curb Rash
Taking preventive measures can minimize your need for Rim Curb Rash Repair:
- Use Parking Aids: Backup cameras, parking sensors, and curb feelers help gauge distances.
- Maintain Correct Tire Pressure: Underinflated tires reduce the cushion between rim and pavement.
- Choose Higher Profile Tires: While not always feasible, a larger sidewall offers more rim protection.
- Park Defensively: Give a bit more space between your wheels and curbs, even if it means a slightly wider angle.
Bullet Points:
- Regularly check rim edges for small nicks before they evolve into full-blown rash.
- Wash rims often to prevent brake dust buildup, which can mask micro-scratches.
Beyond Appearance: How Curb Rash Affects Performance
- Tire Seating: Severe gouges might undermine the bead seal, contributing to slow air leaks.
- Wheel Balancing: Deep scuffs can slightly offset a rim’s balance, causing steering wheel shakes at higher speeds.
- Possible Structural Weakness: In rare cases, repeated curb strikes can stress the wheel and create microcracks.
Addressing scuffs and gouges early ensures smooth handling and avoids more significant mechanical issues, reinforcing the value of Rim Curb Rash Repair.
Maintaining Your Repaired Rims
Once you’ve tackled the curb rash—via DIY or a professional shop—it’s important to keep your rims looking and performing their best:
- Gentle Washing: Opt for pH-balanced wheel cleaners and soft sponges or microfiber cloths.
- Protective Sealants: Specialized wheel waxes or ceramic coatings help guard against brake dust and road contaminants.
- Regular Inspections: At each tire rotation, do a quick check for new scratches or chipped paint.
- Mind the Curbs: A bit of caution during parallel parking can save you from repeated damage.
External Resource and Professional Help
For more advanced tutorials on refinishing techniques or choosing the best wheel coatings, you can visit Car and Driver’s Wheel Repair and Care Section. If you suspect deeper issues like bent rims or hidden cracks, or if you simply prefer a guaranteed finish, consult the experts at therimguy.ca for an assessment and professional Rim Curb Rash Repair that stands the test of time.
Conclusion
Curb rash can transform a sleek set of rims into a patchwork of scratches and scuffs, but you’re not stuck with the damage. From quick, budget-friendly DIY fixes for minor scrapes to comprehensive professional services for significant gouges or cracks, Rim Curb Rash Repair offers a spectrum of solutions tailored to your level of skill and the depth of damage. By addressing rim rash promptly, you steer clear of long-term corrosion risks, maintain the structural integrity of your wheels, and preserve the look and value of your vehicle.
Most importantly, weigh the scope of the abrasion against your own comfort level. If you’re dealing with purely surface-level scuffs, a bit of filler and careful painting might do the job. On the other hand, deeper or more widespread curb rash often justifies the peace of mind that comes from an expert’s touch. Whichever approach you choose, giving your rims the care they need will keep your ride rolling smooth—and turning heads—wherever your travels lead.


