Scraped rims and scuffed edges can instantly detract from a car’s overall appearance, making even a newer vehicle look worn. While this can happen to any wheel, how to repair curb rash on alloy wheels is a pressing concern for many car owners who prize aesthetics and performance. Minor curb rash might seem like a purely cosmetic issue, but ignoring it can lead to corrosion, compromised wheel integrity, and reduced resale value.
In this guide, we’ll explore DIY repair methods for alloy wheel curb rash, highlight the benefits of seeking professional help, and explain how to determine which approach is best for your situation. We’ll also discuss the potential risks of improperly repaired wheels, plus offer practical maintenance tips to keep your alloy rims looking spotless.
Understanding Curb Rash on Alloy Wheels
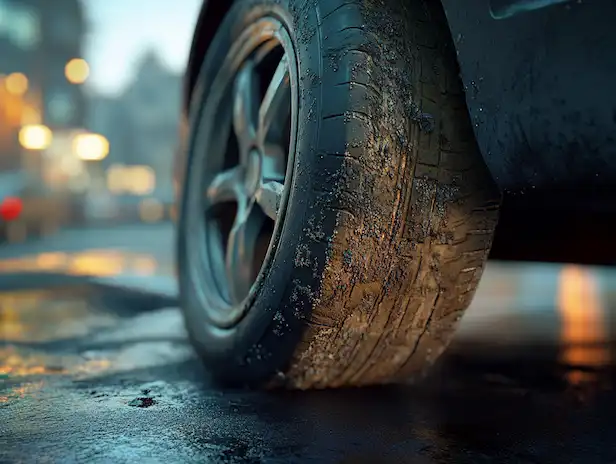
Curb rash is the term used to describe the scraping or scuffing of a wheel’s outer rim area, often caused by brushing against curbs or other obstacles. Alloy wheels—crafted from a combination of metals like aluminum and magnesium—are lightweight and prized for their sleek look, yet they’re also relatively soft and prone to scratches.
Common Causes:
- Parking too close to the curb
- Driving on roads with tight corners or narrow lanes
- Miscalculating reverse maneuvers
Real-World Example:
A busy commuter bumped their front alloy wheel on a curb while parallel parking. The resulting scuff not only looked unsightly but also began to oxidize after a few weeks of exposure to moisture.


Risks of Leaving Curb Rash Unrepaired
While a small scratch may seem harmless, curb rash can lead to bigger problems if not addressed promptly.
- Corrosion and Oxidation: Damaged alloys can corrode faster than fully sealed rims.
- Structural Weakness: Deep gouges may compromise the rim’s integrity over time.
- Aesthetic Devaluation: Scratched wheels can lower your car’s resale value.
| Risk | Impact on Wheel | Long-Term Consequences |
|---|---|---|
| Corrosion/Oxidation | Metal surface more vulnerable to moisture | Weakening of alloy, potential cracks |
| Structural Damage | Deep gouges or fractures | Wheel imbalance, possible blowouts |
| Loss of Aesthetic Value | Scrapes & scuffs are highly visible | Reduced resale or trade-in value |
Tip: Neglecting repairs can end up costing more in the future—especially if corrosion spreads or structural damage worsens.
Assessing the Damage
Before deciding how to repair curb rash on alloy wheels, evaluate the severity of the scuff:
- Minor Surface Scratches: Shallow scuffs or paint damage that doesn’t penetrate deep into the metal.
- Moderate Rash: Noticeable gouges affecting the wheel’s surface; may require filler and sanding.
- Severe Damage: Deep fractures or cracks extending into the alloy; potentially unsafe to drive.
Example:
A driver discovered a small chunk missing from the rim’s edge after hitting a pothole. Further inspection revealed deep cracks, necessitating a professional wheel restoration service.
DIY Repair Tools and Materials
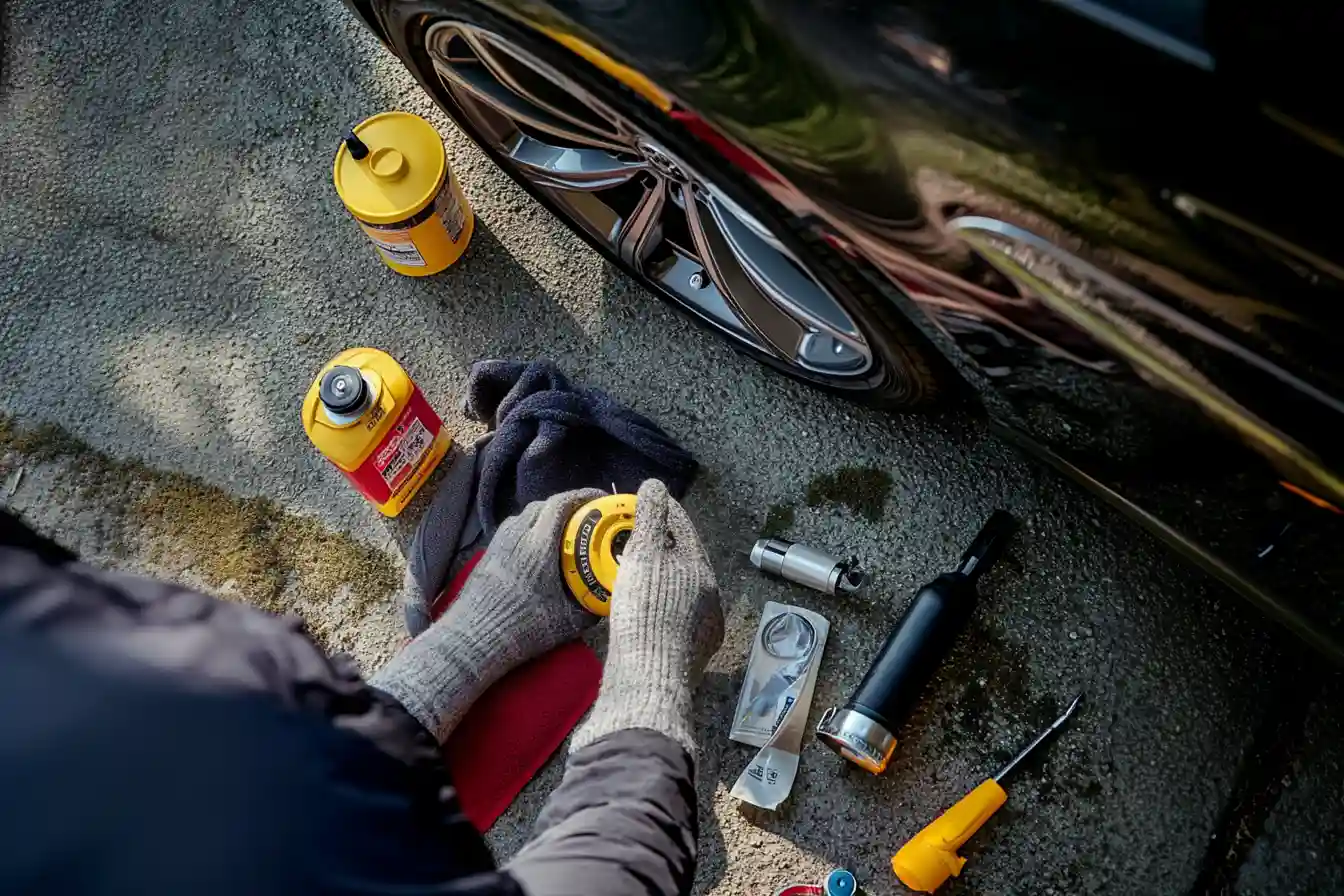
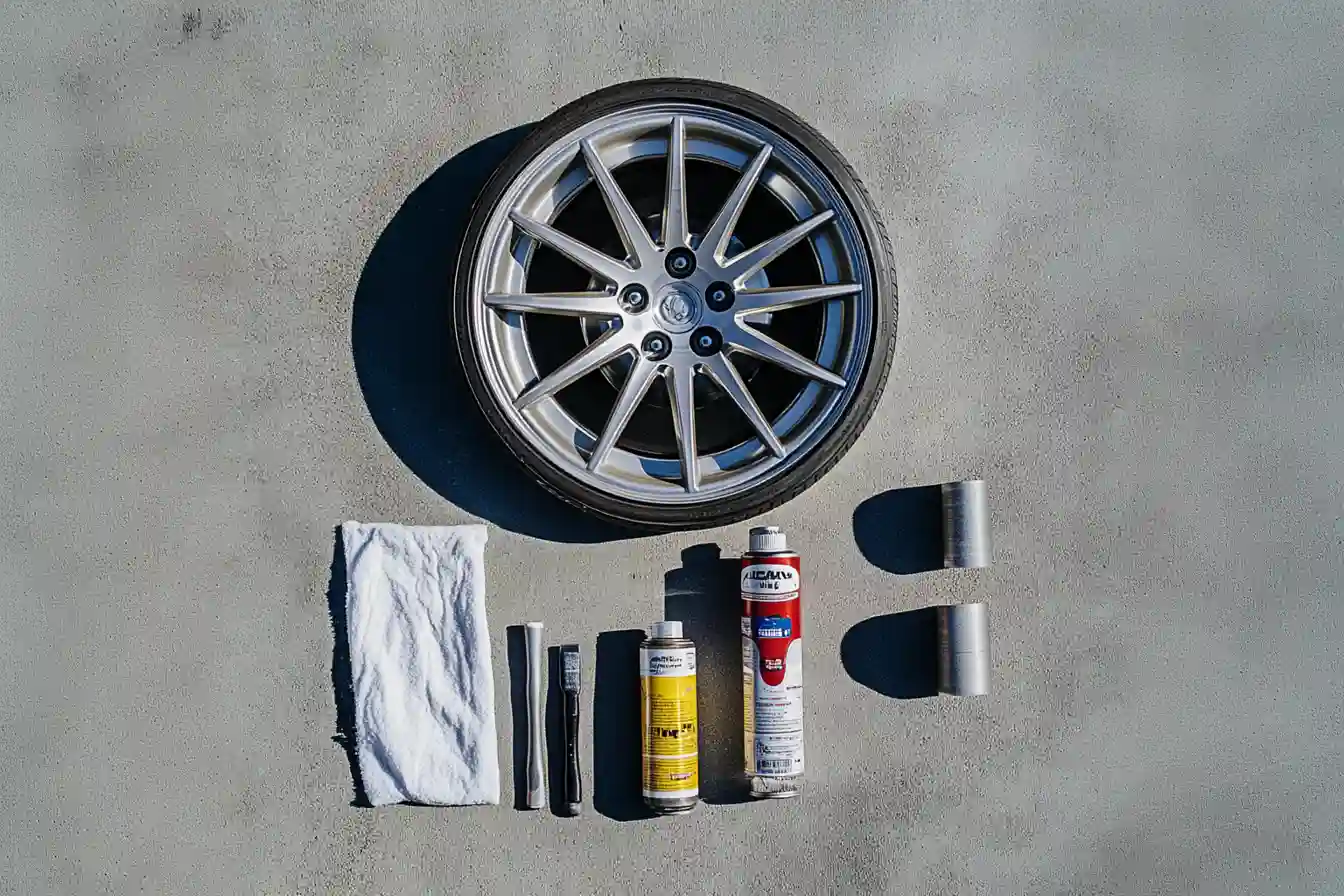
For minor curb rash, some car owners opt for a do-it-yourself repair. Here’s what you’ll typically need:
- Fine Grit Sandpaper (e.g., 300-600 grit)
- Body Filler or Specialized Alloy Wheel Putty
- Primer and Wheel Paint
- Clear Coat Finish
- Cleaning Solution and Microfiber Cloths
Bullet Points: DIY Safety
- Work in a well-ventilated area.
- Wear protective gloves and a mask when sanding or applying paint.
- Ensure the wheel is fully off the vehicle (on a stand or flat surface) for stable repairs.
Step-by-Step: Basic DIY Curb Rash Repair
If you’ve assessed your damage as minor and want to tackle it yourself, follow these steps carefully.
- Clean the Wheel: Remove all dirt, brake dust, and grease using a mild cleaner and microfiber cloth.
- Sand the Damaged Area: Use fine-grit sandpaper to smooth any jagged edges. Feather out the sanding area to blend with the rest of the wheel.
- Apply Filler: Mix and apply wheel putty or body filler, focusing on the gouged sections. Let it dry according to the product instructions.
- Re-Sand and Smooth: Once the filler is set, sand it again to ensure an even surface.
- Prime and Paint: Spray a thin coat of primer, let it dry, then apply wheel paint that matches your alloy’s color.
- Clear Coat: Finish with a clear coat to protect against moisture and UV damage.
| Step | Key Action | Tips for Success |
| 1. Clean | Remove dirt & grease | Use a wheel-specific cleaner for best results |
| 2. Sand Damage | Smooth edges & scuffs | Sand gradually, don’t over-sand surrounding paint |
| 3. Apply Filler | Fill gouges with putty | Shape carefully; excessive filler can be messy |
| 4. Re-Sand & Smooth | Create an even surface | Use progressively finer sandpaper |
| 5. Prime & Paint | Coat evenly, match wheel color | Multiple thin coats prevent runs or drips |
| 6. Clear Coat | Seal & protect the repair | At least 2 coats; let it cure fully |
Practical Tip: After the final coat, allow ample curing time—usually 24 hours—before mounting the wheel back on your vehicle.
Drawbacks and Limitations of DIY Repairs
While a DIY approach may help with superficial curb rash, it comes with its own challenges:
- Color Matching: Achieving a seamless color match can be difficult, especially for metallic or custom finishes.
- Surface Longevity: DIY fillers and paints may not withstand constant road stress and exposure like professional-grade materials.
- Unseen Damage: Serious cracks or bends can go unnoticed during a DIY repair, leading to unsafe driving conditions.
Real-World Example:
A car enthusiast attempted a curb rash fix at home but missed a slight rim bend. Within weeks, the tire began losing air, requiring a more expensive professional repair.
When to Call a Pro
Sometimes, how to repair curb rash on alloy wheels is best answered by seeking expert help. Professional shops offer:
- Advanced Tools and Equipment: Specialized sanding machines, CNC lathes, or even powder coating facilities.
- Alloy Wheel Expertise: Pros can identify hidden cracks, bends, and potential issues you might overlook.
- High-Quality Materials: Professional-grade fillers, primers, and finishes last longer and resist corrosion.
Bullet Points: Professional Advantages
- Guaranteed color matching and finish consistency.
- Potential for warranties on repair work.
- Rapid turnaround for severe wheel damage.
Estimated Professional Repair Costs
The cost to repair curb rash varies widely, depending on factors like wheel size, severity of damage, and location.
| Service Type | Approx. Price Range | Notes |
| Minor Scuff Repair | $75 – $150 per wheel | Small surface scratches, quick fix |
| Moderate Rash & Paint Match | $150 – $250 per wheel | Deeper gouges, color matching |
| Severe Damage or Bent Rim | $250+ per wheel | Includes welding cracks, straightening rims |
| Custom Finishes (Powder Coating) | $100 – $300+ per wheel | More durable, specialized equipment needed |
Tip: A professional repair may seem pricier upfront, but the superior longevity and safer results often justify the investment.
Preventing Future Curb Rash
Whether you go DIY or call a pro, prevention is the best strategy. Here are some practical steps to keep your alloy wheels damage-free:
- Use Curb Protectors: Attach rim-protecting strips that absorb minor scrapes.
- Be Mindful When Parking: Allow extra space between your wheels and the curb.
- Upgrade Tire Profile: If feasible, opt for slightly taller tires for additional wheel protection.
- Regular Wheel Inspections: Spot tiny scuffs early before they worsen.
Practical Tip: Routine cleaning and waxing of your alloy wheels reduce the build-up of brake dust and grime, which can hide scratches or accelerate corrosion.
Making the Right Choice for Your Rims
Ultimately, deciding how to repair curb rash on alloy wheels boils down to severity, resources, and personal preference. A small surface scuff might be manageable with a basic DIY approach, but deeper gouges or structural concerns call for professional attention.
Key Decision Factors
- Damage Extent: Minor vs. major scuffs.
- Time & Skill Level: DIY requires patience, tools, and technique.
- Cost vs. Quality: Professional services often provide better, longer-lasting results.
Thought-Provoking Example:
A luxury sedan owner with brand-new wheels opted for a professional repair to preserve vehicle value. The result was seamless, and potential buyers never suspected any rim damage.
Conclusion
Keeping your alloy wheels scratch-free is essential not just for aesthetics but also for long-term performance and safety. While DIY solutions can tackle minor curb rash, professional intervention ensures deeper scratches and hidden issues are correctly addressed. If you’re still unsure which route to take, consider the potential risks, the value of your time, and the wheel’s importance to your car’s overall function and resale value.
If you’d like more details on professional wheel repair techniques, check out Car and Driver’s Alloy Wheel Guide for in-depth insights and case studies. And when you’re ready to restore your rims to their original glory, trust the experts at therimguy.ca to deliver top-tier results you can depend on.
Final Thoughts & Thought-Provoking Questions
- Have you accurately assessed whether the damage to your alloy wheels is merely cosmetic or also structural?
- Could professional wheel repairs be cheaper in the long run compared to repeated DIY fixes?
- Are you taking preventive measures to avoid future curb rash, such as careful parking or using protective strips?
Reflecting on these questions can guide you toward the best curb rash repair approach for your specific situation—protecting both your wheels and your wallet.


