A Step-by-Step Guide for Curb Rush Repair
Curb rash is a common issue for alloy wheels, caused when the wheel scrapes against a curb or other obstacles. This unsightly damage can be frustrating, but the good news is that curb rash can often be repaired with the right tools and techniques. Whether you want to save money on professional repairs or just enjoy DIY projects, this guide will walk you through the steps of repairing curb rash on alloy wheels and restoring their appearance.
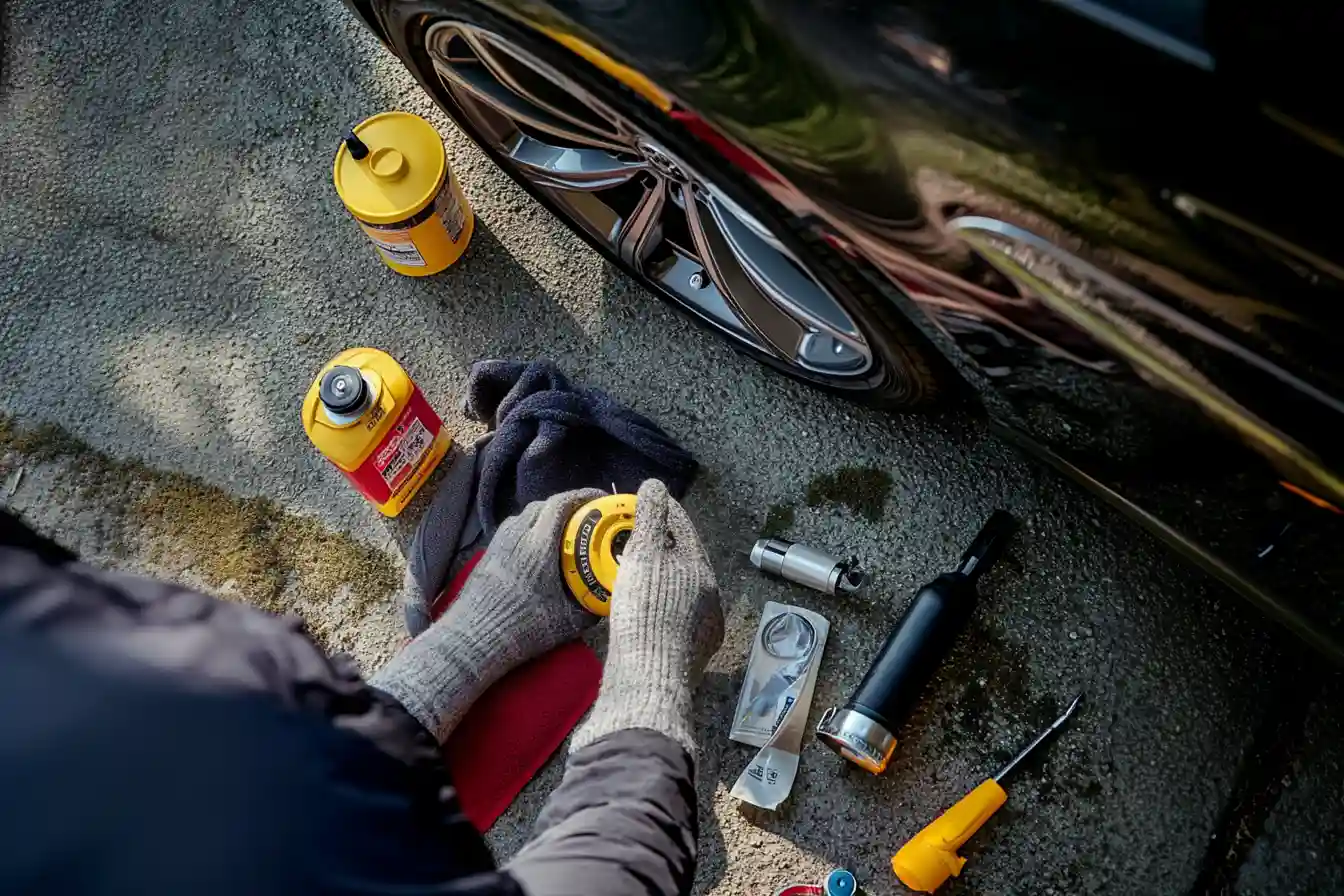
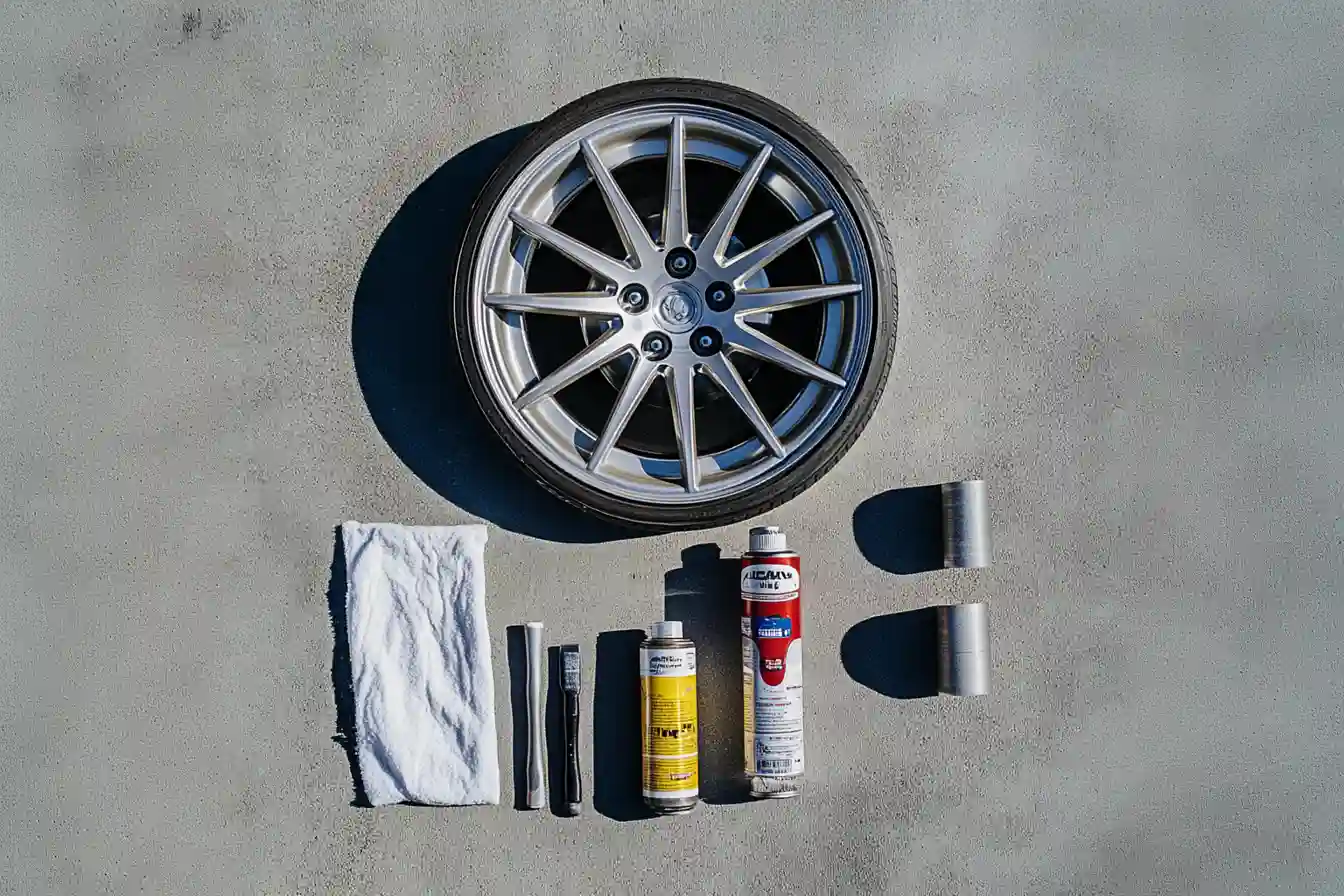
What You’ll Need to Repair Curb Rash on Alloy Wheels
Before you begin, gather the following materials to ensure a smooth repair process:
- Cleaning supplies: Soap, water, and a soft cloth to clean the wheel.
- Sanding tools: Sandpaper (preferably in various grits, from coarse to fine) or a sanding block.
- Filler or alloy wheel repair kit: This will be used to fill in the damaged areas.
- Primer: To prepare the wheel surface for painting.
- Alloy wheel paint: Choose a color that matches your wheels.
- Clear coat: To finish the job and provide a smooth, glossy finish.
- Masking tape: To protect areas of the wheel you don’t want to paint.


Step 1: Clean the Wheel
Start by thoroughly cleaning the wheel to remove any dirt, grime, or brake dust. Use soap and water along with a soft cloth to scrub the surface. If your wheel has significant build-up, you may need a wheel cleaner. Make sure the wheel is completely dry before proceeding to the next step.
Step 2: Sand the Damaged Area
Once the wheel is clean, it’s time to address the curb rash. Use coarse-grit sandpaper (around 80-120 grit) to gently sand the affected area. The goal is to remove any rough edges and smooth out the damaged portion. Sand in a circular motion to ensure an even surface.
After the initial sanding, switch to finer grit sandpaper (around 200-400 grit) to smooth the area further. This step is crucial for achieving a professional-looking finish.
Step 3: Apply Filler
For deeper scratches or gouges, you’ll need to apply a filler. You can find specific alloy wheel repair kits that include filler designed for this purpose. Apply the filler according to the instructions, filling in the damaged areas and smoothing it with a plastic spreader. Allow the filler to dry completely before moving on to the next step.
Step 4: Sand the Filler Smooth
Once the filler has dried, use fine-grit sandpaper (400-600 grit) to sand it down to a smooth, level surface.
Take your time to ensure the repaired area blends seamlessly with the rest of the wheel.
Step 5: Mask Off the Area
Before painting, use masking tape and newspaper to protect areas of the wheel that you don’t want to paint. This includes the tire and any parts of the wheel that are not damaged. Make sure the tape is applied securely to prevent paint from seeping into unwanted areas.
Step 6: Apply Primer
Spray a thin coat of primer onto the repaired area. This helps the paint adhere better and provides a uniform base.
Let the primer dry according to the manufacturer’s instructions before applying the paint.
Step 7: Paint the Wheel
Once the primer has dried, it’s time to paint. Use alloy wheel paint that matches your wheel’s color. Apply several thin layers of paint, allowing each layer to dry before applying the next. This method helps avoid drips and ensures an even finish.
Step 8: Apply Clear Coat
To finish the repair and protect the paint, apply a clear coat over the painted area. The clear coat adds durability and gives the wheel a glossy, smooth finish. Allow the clear coat to dry thoroughly before handling the wheel.
Step 9: Reinstall the Wheel
Once the paint and clear coat are completely dry, remove the masking tape and reinstall the wheel. Check the repair to ensure everything looks even and professional.
Final Thoughts
Repairing curb rash on alloy wheels is a manageable DIY project if you have the right tools and patience. By following these steps, you can restore your wheels to their original appearance, saving money and maintaining the look of your vehicle. If the damage is extensive or you’re not comfortable doing the repair yourself, it’s always a good idea to consult a professional rim repair service.
For those who prefer professional help, Contact Us to assess the damage and offer a high-quality repair solution.
Curb rash can be an eyesore, but with the right approach, it’s easy to fix. Whether you choose a DIY solution or opt for professional repair, taking action can protect your wheels and keep your car looking its best. At The Rim Guy, we’re here to help you maintain your rims, enhance your vehicle’s appearance, and boost its performance.
Ready to restore your rims? Visit therimguy.ca for expert rim repair services!

