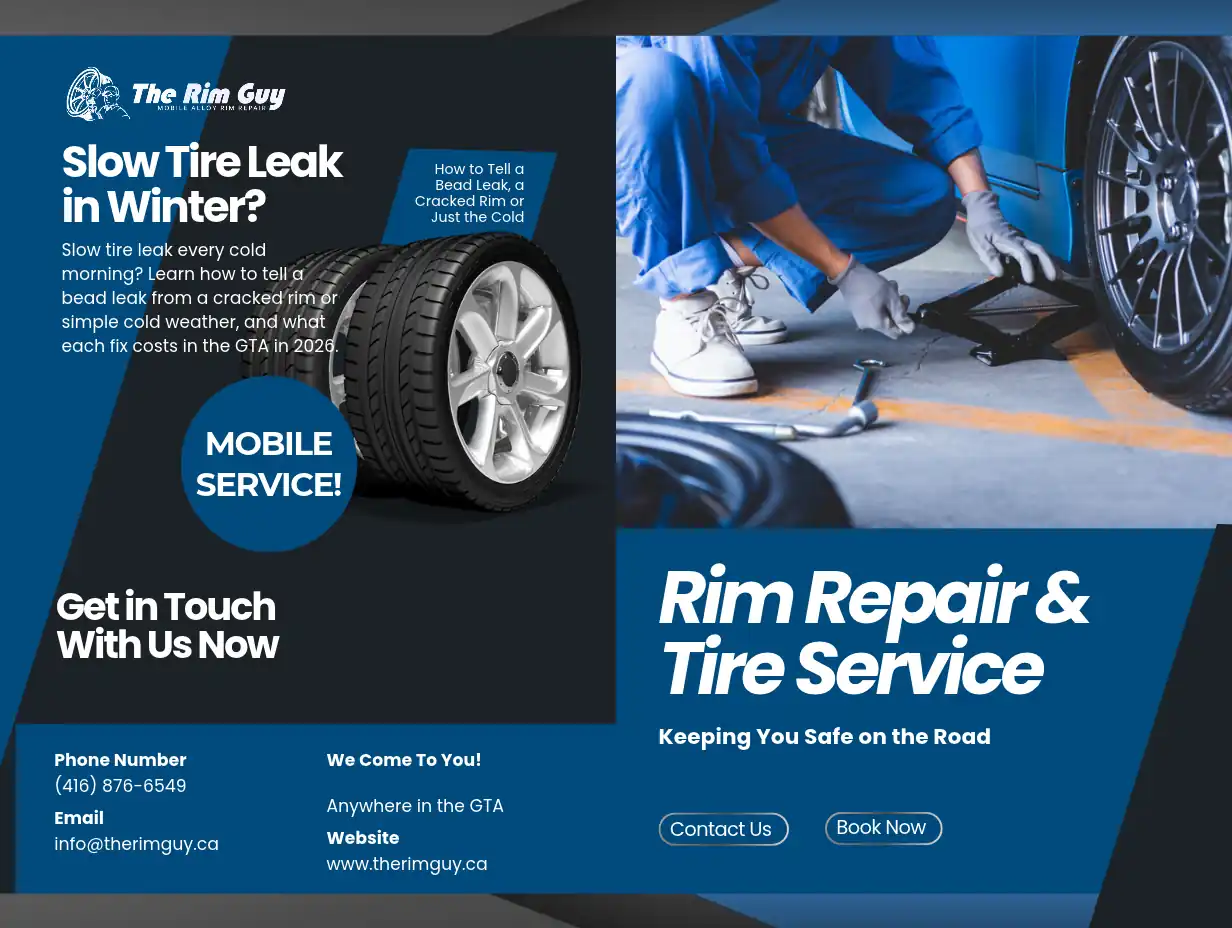
Every year around the end of October, my phone starts lighting up with the same message: “My TPMS light comes on every morning; I fill the tire, and two days later it is low again.” A slow tire leak is one of the most common problems GTA drivers face as temperatures drop, and one of the most misdiagnosed.
Sometimes it is a nail. Sometimes it is the cold. But in my experience, many of the winter slow leaks we see on alloy wheels come from the rim itself: corrosion at the bead seat or a hairline crack from a pothole on the 401. This guide walks you through how to find out which one you have, what the fix costs, and who should do it.
🧰 What You Need to Check It Yourself
You can diagnose most slow leaks in 15 minutes in your driveway with a few cheap items:
- A digital tire pressure gauge (the pencil type is not accurate enough for this)
- A spray bottle filled with water and a good squirt of dish soap
- A flashlight, even in daylight, to see small bubbles on the inner barrel
- A paint marker or chalk to mark where you find bubbles
- Your door jamb sticker, which lists the correct cold pressure for your car
❄️ Step One: Rule Out Plain Cold Weather
Tire losing air in cold weather is the most common cause of a winter TPMS light, and it is not a leak. Before you assume anything is broken, remember that air contracts when it gets cold. Cooper Tire’s Canadian team puts it at 1 to 2 psi lost for every 10 degrees Fahrenheit drop, which is roughly 1 to 2 psi for every 5 to 6 degrees Celsius. If you filled your tires in a warm garage in September, a cold October morning can easily trigger the light.

| Temperature drop | Expected pressure loss | What it means |
|---|---|---|
| 10°C (for example 15°C to 5°C) | About 2 to 4 psi | Normal. Top up once to the door sticker pressure. |
| 20°C (for example 20°C to 0°C) | About 4 to 7 psi | Normal, and enough to trigger most TPMS lights. |
| 30°C (for example 20°C to minus 10°C) | About 5 to 11 psi | Normal on the first cold snap. Check all four tires. |
| Same temperature, still losing 2+ psi a week | Not explained by weather | This is a real slow leak. Keep reading. |
Here is a simple test to tell the difference between air loss in cold weather and a real leak: inflate all four tires to the door-sticker pressure on a cold morning, then check them again a week later at a similar temperature. If all four dropped by about the same small amount, the weather is the cause. If one tire keeps dropping faster than the others, you have a slow tire leak, and the cause is local to that wheel.
🔍 The 5 Causes of a Slow Tire Leak
Once you know one tire is losing air on its own, it almost always comes down to one of these five causes:
| Cause | Typical sign | Who fixes it |
|---|---|---|
| Nail or screw in the tread | Bubbles on the tread when sprayed | Any tire shop, usually a plug and patch |
| Leaking valve stem or TPMS sensor | Bubbles at the valve, often worse when the stem is moved | Tire shop, valve core or stem replacement |
| Bead leak (tire to rim seal) | Bubbles where the tire meets the rim edge | Tire shop reseal, or rim refinishing if the seat is corroded |
| Cracked rim | Bubbles from a line on the rim barrel or spoke | Rim specialist, welding or replacement |
| Porous or damaged casting | Tiny bubbles through the metal itself | Rim specialist, sealing and refinishing |
The first two are cheap fixes that any tire shop can handle. The last three involve the wheel, and that is where we come in.
🧪 How to Find the Leak: 7 Steps
Finding the source of a slow tire leak is easier than most people think. Do this with the car parked on level ground and the tires inflated to the normal pressure. A slightly overinflated tire, about 5 psi over, makes small leaks bubble faster.
- Inflate the tire to the pressure listed on the door sticker, plus about 5 psi.
- Spray the valve stem and the valve cap area first. Watch for 30 seconds. Small bubbles that grow mean the valve is leaking.
- Spray the tread in sections, turning the wheel to reach the whole circumference. Look for a cluster of bubbles at a nail, screw, or cut.
- Spray the outer bead, the line where the tire meets the rim lip, all the way around. Steady bubbles here mean a bead leak.
- Spray the face of the rim and the spokes, especially any area with curb rash or a fresh pothole mark.
- Turn the steering wheel to full lock and use the flashlight to spray what you can reach of the inner barrel. Cracks from potholes usually start on the inside.
- Mark every spot that bubbles with chalk or a paint marker, take a photo, then let the extra 5 psi back out.
If you found nothing but the tire still drops, the leak is probably in the inner bead or deep in the inner barrel, which you cannot see with the wheel on the car. That is a job for a shop or for us once the tire is dismounted.
🧂 Why GTA Rims Leak at the Bead
A bead leak happens when the tire’s rubber bead can no longer seal perfectly against the bead seat, the smooth ring of metal on the rim lip. On a new wheel, that seat is clean and coated. After a few Toronto winters, it often is not.
Here is what happens. Road salt and brine from the Gardiner, the DVP, and every side street in North York get pushed into the tiny gap between tire and rim. Every tire swap, spring and fall, scratches the protective coating on the bead seat a little more. Salt finds the bare aluminum, and white, crusty corrosion grows under the bead. Once that crust lifts the rubber even a fraction of a millimeter, air finds the path out.
This is why bead leak problems are so common on cars that get winter tires mounted on their original alloys. Kal Tire also points out that air escapes more easily at the tire-to-rim seal in the cold because the rubber stiffens and the metal shrinks. The leak you never noticed in July shows up in November.

🔧 Tire Bead Leak Fix: What Actually Works
There is no single tire bead leak fix. The right one depends on how bad the bead seat is:
- Light buildup, smooth metal underneath: a tire shop dismounts the tire, wire brushes the bead seat, applies bead sealer and remounts. This works well when the corrosion is only on the surface.
- Pitted bead seat: wire brushing removes the crust but leaves pits, and the leak returns within weeks. The bead seat needs to be cleaned to bare metal, filled and recoated, which is a rim refinishing job.
- Corrosion plus cosmetic damage: if the face of the wheel also has curb rash or peeling clear coat, it is worth doing the bead seat and the face together, so you are not paying for two separate dismounts.
A word on tire sealant from the auto parts store: it can buy you a few days, but it coats the TPMS sensor and the inside of the wheel, and most shops charge extra to clean it out. I would only use it to get home safely, not as a repair.
When the bead seat is the problem, our rim refinishing service restores the seat and the face at the same time, so the tire seals properly again.
⚠️ When the Leak Is a Cracked Rim
Safety warning: Don’t drive at highway speeds on a rim with a visible crack, especially on the 401 or QEW. A small crack can grow quickly under load, and a sudden loss of air at speed is dangerous. If you see a line on the rim that bubbles, drive gently and get it checked within days, not weeks.
Cracks are the second most common rim-related cause of a slow-leak tire we see in the GTA, almost always after a pothole hit. They usually form on the inner barrel, where you cannot see them without taking the wheel off. Our guide to cracked rim repair explains which cracks can be safely welded and which mean the wheel should be replaced.
If welding is the answer, our rim crack repair service covers the full process. Send us a photo of the marked spot, and we will tell you whether it is repairable before you spend anything.
💲 Rim Leak Repair Cost in the GTA
Rim leak repair costs vary a lot depending on the cause. Here are the typical ranges I see across the GTA in 2026:
- Valve core or valve stem replacement at a tire shop: usually under $40
- Plug and patch for a nail in the tread: usually $30 to $60
- Bead reseal at a tire shop (dismount, clean, seal, remount, balance): typically $40 to $80 per tire
- Crack welding on an alloy rim: we quote most cracks at $175 to $225 per rim
- Bead seat refinishing: quoted from a photo, and often combined with cosmetic repair on the same wheel
The cheapest fix is the one done once. If the bead seat is pitted, a reseal alone will usually fail again before spring, and you will pay for the dismount twice.
🚗 Don’t Wait for the TPMS Light
A 2022 Kal Tire survey found that only 5% of Canadian drivers check their tire pressure monthly, and that drivers check least often in November through February, exactly when pressure drops the most. Many drivers rely on the TPMS light alone to catch a slow tire leak, but by the time it comes on, the tire may already be well below its safe pressure.
Driving on an underinflated tire is also how many rims get damaged in the first place. A soft tire lets the rim hit the road edge in a pothole, which leads to bends and cracks. A slow leak tire left alone for a month can turn a $50 fix into a rim repair.
🛡️ How to Prevent Winter Slow Leaks
Most of the slow leak tire calls we get in winter could have been avoided with five simple habits:
- Check pressure once a month with a gauge, first thing in the morning before driving.
- Ask your tire shop to clean the bead seats and use bead sealer at every seasonal swap, not just mount and go.
- Rinse your wheels, including the inner barrel, after salty weeks, especially after storms when the city puts down brine.
- Repair curb rash and chipped coating early, before salt reaches the bare aluminum. Our guide to protecting rims in a GTA winter covers the details.
- After any hard pothole hit, check the pressure in that tire for the next two or three days.
🏠 We Come to You
If you have found bubbles at the rim, a bead leak that keeps coming back, or a crack on the barrel, send a photo of the marked spot to 416-876-6549. I will tell you honestly whether it is a tire shop job or a rim leak repair, and what it will cost. For the rim jobs we handle, our mobile wheel repair service comes to your driveway or workplace anywhere in the GTA, with a 1 year warranty on the work.