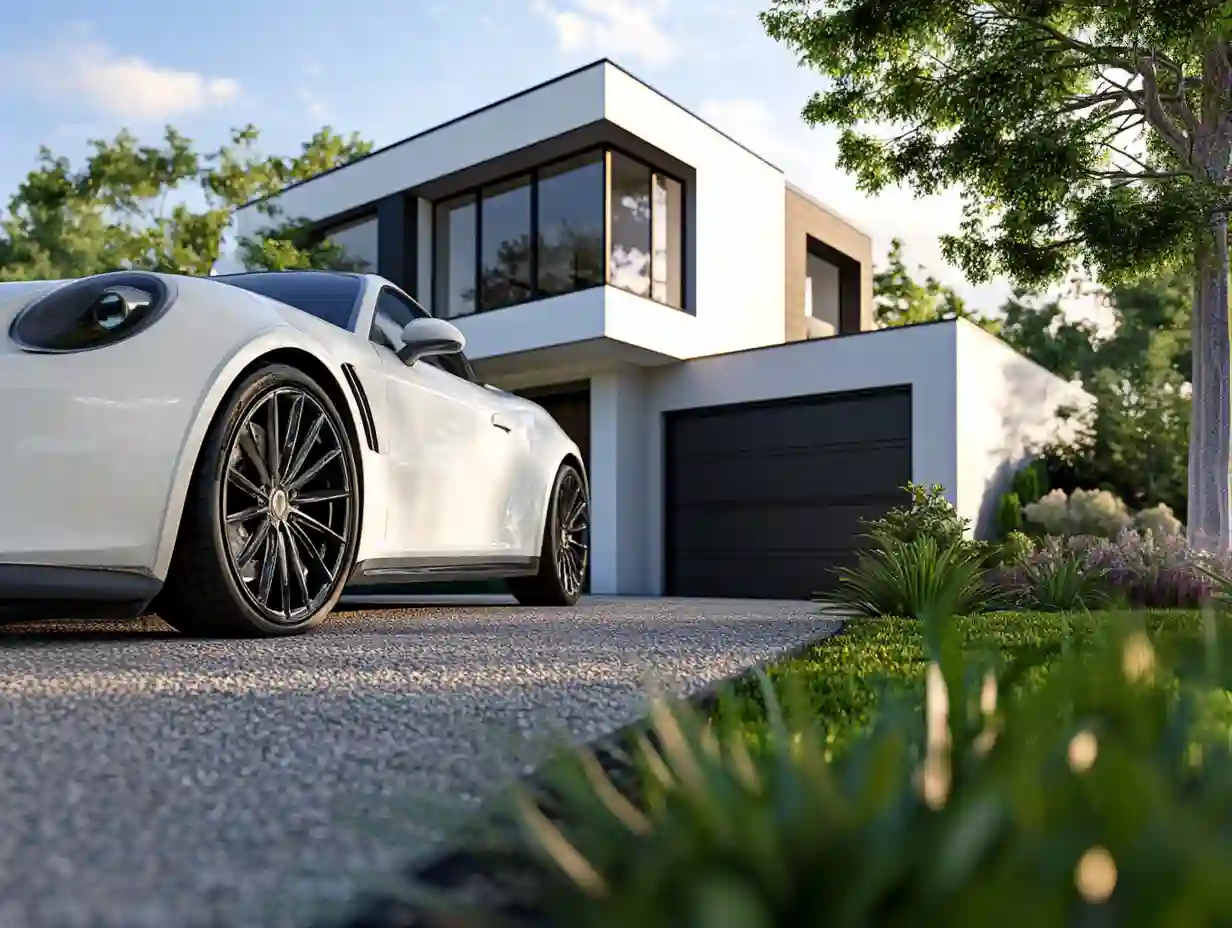
We have all been there. You are parallel parking on a tight street in downtown Toronto, or perhaps navigating a narrow drive-through in Vaughan. Suddenly, you hear it, that sickening grinding sound of metal against concrete.
In my years of experience restoring wheels across the Greater Toronto Area, I have learned that curb rash repair is more than just fixing an aesthetic annoyance. In our climate, where road salt and moisture are constant threats, a simple scratch on your alloy wheel can quickly turn into widespread corrosion that costs hundreds more to address.
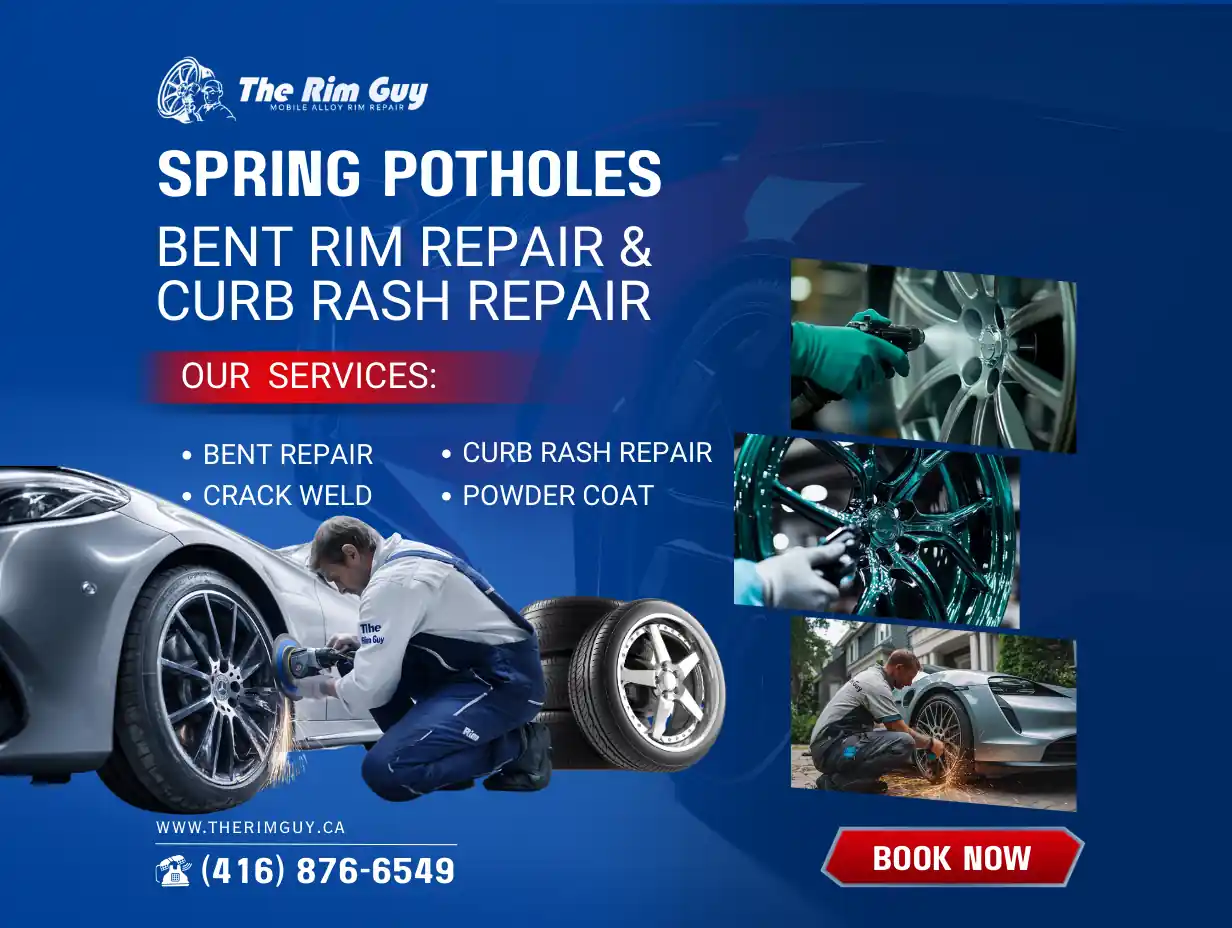
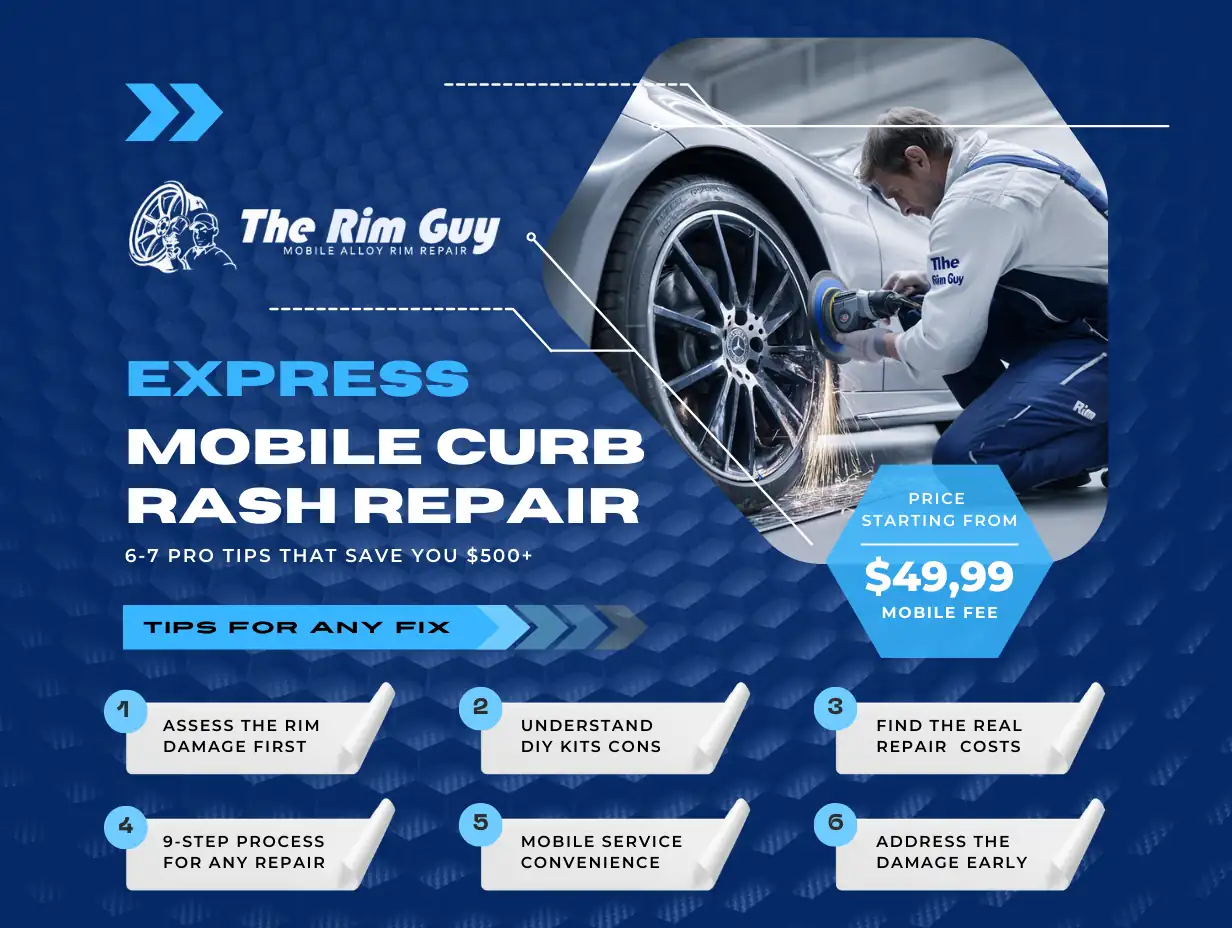
This guide will walk you through everything you need to know: from assessing your damage to understanding the real curb rash repair cost in Toronto, and why our 9-step professional process delivers results that last years instead of months.
Why Curb Rash Is More Dangerous in Toronto Than Anywhere Else
Before diving into solutions, you need to understand why ignoring wheel damage in the GTA is a costly mistake.
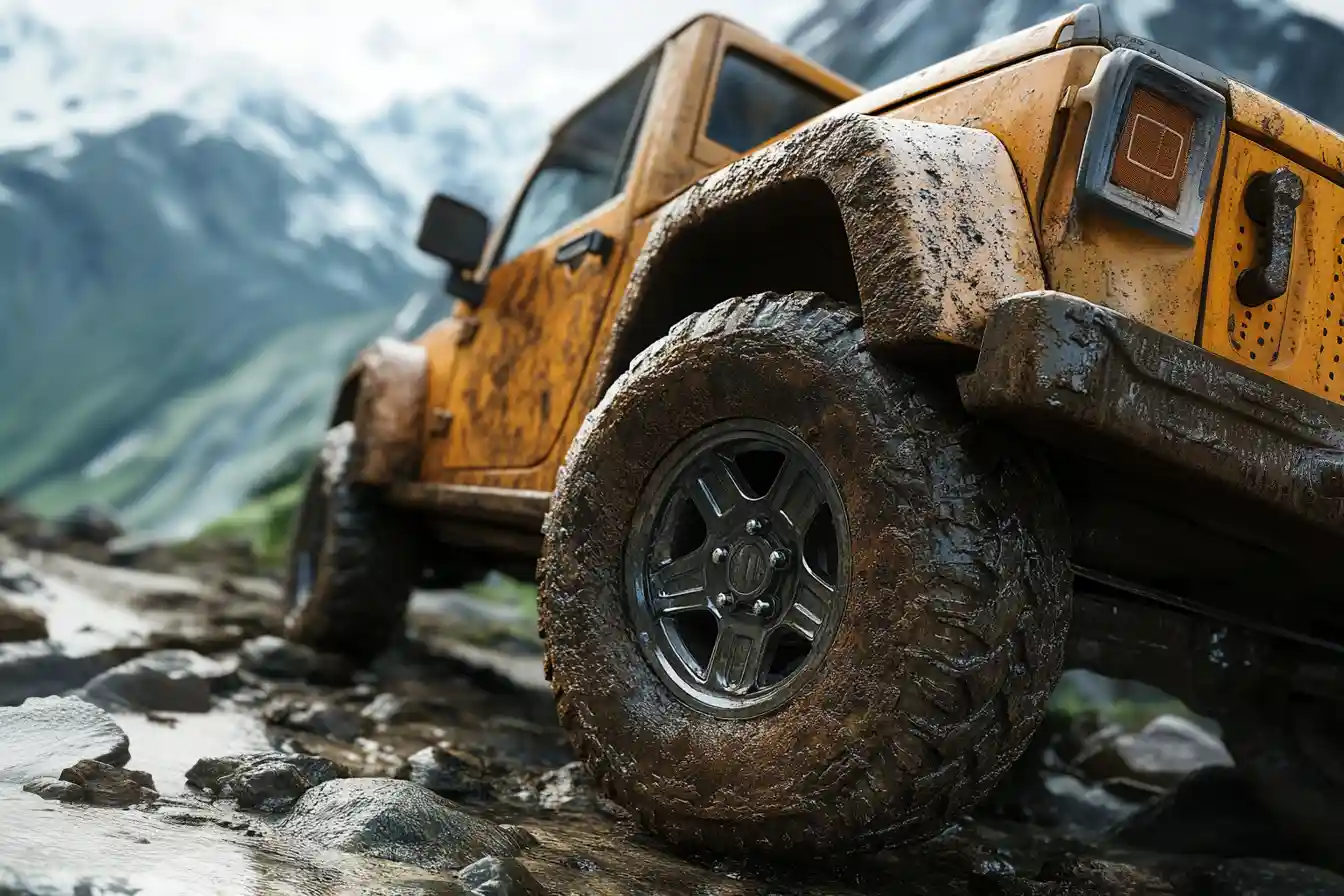
Curb rash occurs when the outer edge or face of your wheel scrapes against a curb, stripping away the clear coat and paint. On alloy wheels, this exposes the raw aluminum underneath. In a dry climate like Arizona, you might ignore this for months without consequence. However, in Toronto, leaving raw aluminum exposed is asking for trouble.
The calcium chloride and brine solutions used on the QEW, Highway 401, and the Gardiner Expressway act as aggressive oxidizers. Once that protective layer is compromised, even a “harmless” scratch allows oxidation to creep underneath the surrounding paint. By spring, what started as a small scuff has turned into bubbling, peeling clear coat that spreads across the entire wheel face.


Our freeze-thaw cycles compound the problem. Water seeps into micro-scratches during the day, then expands as it freezes overnight. This is why we see so many drivers in March with wheel damage that looks far worse than what they remember from December.
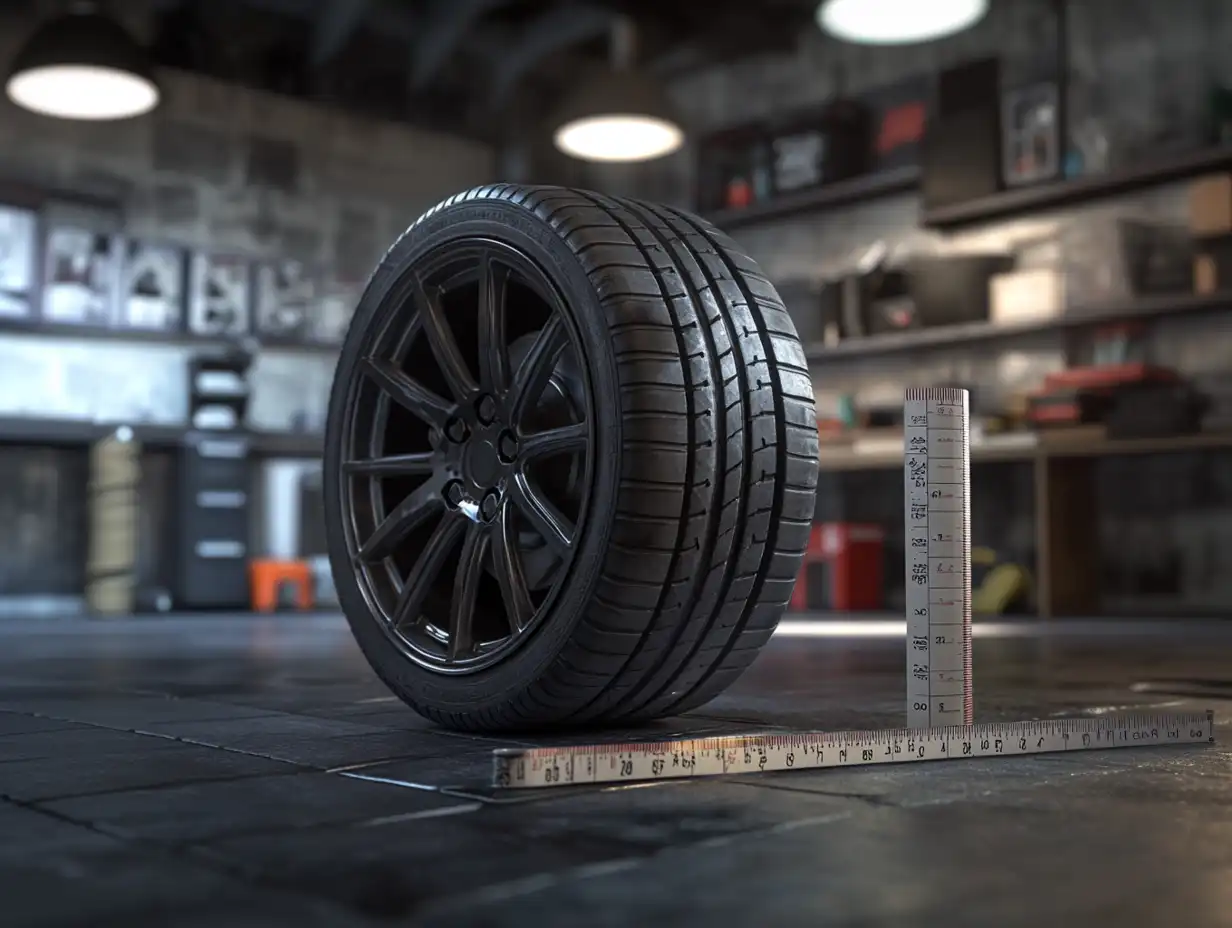
Tip 1: Assess the Damage Level Before Choosing a Solution
Not all curb rash is created equal, and the repair approach depends entirely on severity. Here is how we categorize damage:
| Damage Level | What It Looks Like | The Test | Recommended Solution |
|---|---|---|---|
| Level 1: Cosmetic Scuffs | Paint scratched, metal not deeply gouged | Fingernail catches slightly but doesn’t get stuck | Mobile repair, 45-60 minutes |
| Level 2: Deep Gouges | Chunks of alloy scraped away, rim edge feels rough and jagged | Fingernail gets stuck in grooves | Aluminum filler + full refinish |
| Level 3: Structural Impact | Vibration in steering wheel after impact | Visible bend or wobble when spinning | Straightening first, then cosmetic repair |
If you are experiencing steering vibration after hitting a curb, cosmetic repair is secondary. You must address the structural integrity of the wheel before worrying about how it looks.
Tip 2: Understand Why DIY Kits Almost Always Disappoint
Many car owners ask if they can fix scratched rims at home. While auto parts stores sell kits for fifty to eighty dollars, I frequently see the aftermath of these attempts, and it usually costs more to correct than if the damage had been left alone.
The biggest issue is clear coat quality. Most rattle-can clear coats are 1K (one-component) formulas. They lack the hardeners found in professional 2K (two-component) systems. This means they cannot withstand the high heat generated by your brakes during normal driving, or the chemical attack from commercial car wash soaps.
Furthermore, matching the specific silver, gunmetal, or hyper-silver finish of modern OEM wheels is nearly impossible with off-the-shelf spray paint. A generic “aluminum” colour will always look noticeably different in direct sunlight. The repair becomes visible from several meters away, which can actually decrease your vehicle’s resale value more than the original damage.
Tip 3: Know the Real Costs Before You Decide
One of the most common questions we receive is about curb rash repair cost in Toronto. To help you budget realistically, here is what you can expect in the current market:
| Repair Method | Cost Per Wheel | Durability | Time Required | Best For |
|---|---|---|---|---|
| DIY Kit | $50 – $80 | Low (6-12 months before peeling) | 4-6 hours of your time | Temporary fix before selling |
| Mobile Repair | $150 – $225 | High (OEM quality, 2+ years) | 45-60 minutes | Most drivers, convenience |
| Shop-Based Refinish | $175 – $250 | High (OEM quality) | 2-3 days without vehicle | Severe damage, winter repairs |
| CNC Diamond Cut | $250 – $350 | Excellent (factory reset) | 2-3 days | Two-tone machined wheels only |
| OEM Replacement | $400 – $1,500+ | Original | Weeks (availability dependent) | Cracked or structurally compromised |
The numbers tell a clear story. Professional curb rash repair at a fraction of replacement cost delivers results that protect your investment for years. When you factor in the value of your time and the risk of a botched DIY job, mobile curb rash repair in the GTA represents the best balance of quality, convenience, and cost.
Tip 4: Demand This 9-Step Process From Any Professional


At The Rim Guy, we follow a rigorous protocol for alloy wheel restoration. This is exactly how professional-grade repair should be performed, and you should expect nothing less from any service you hire:
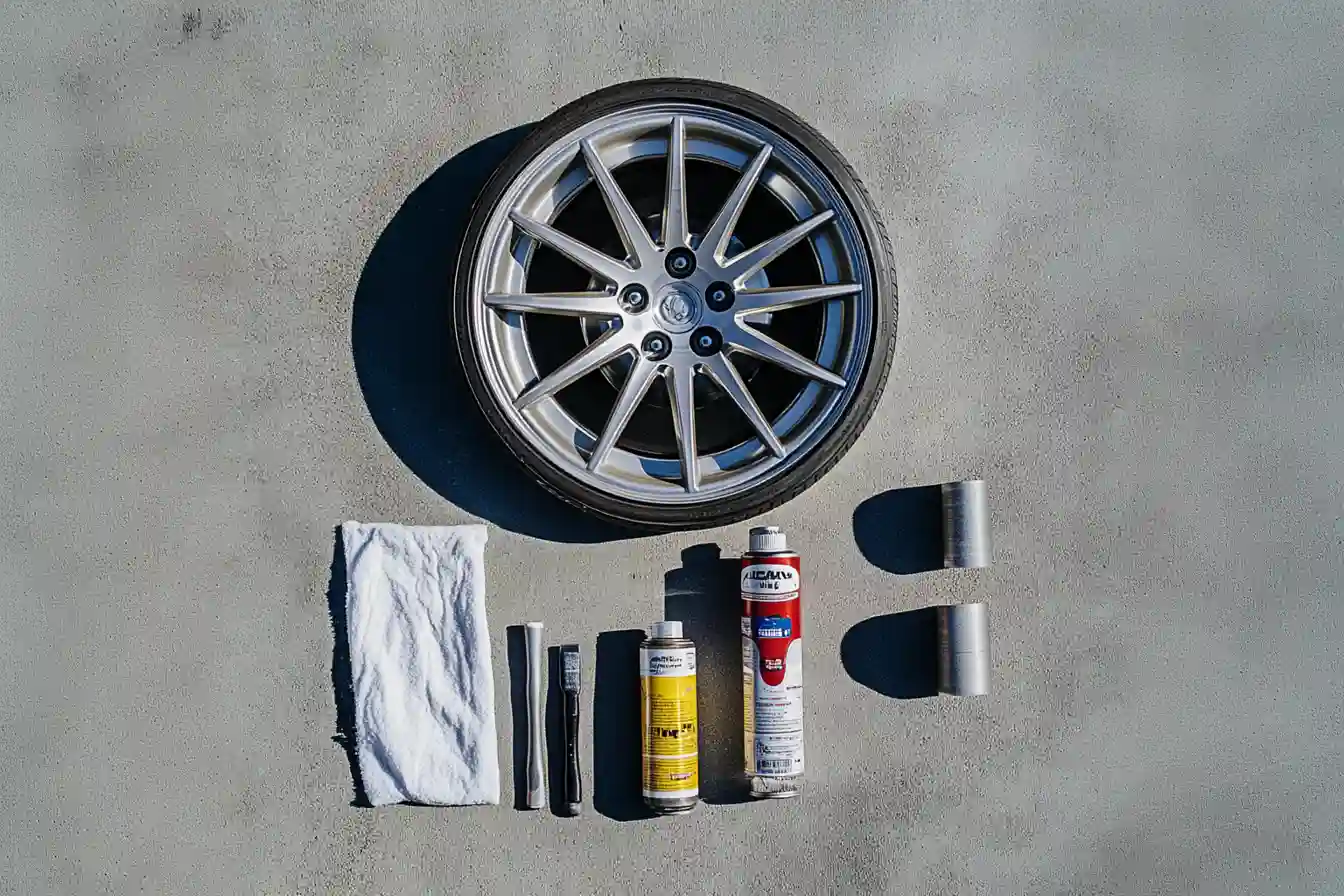
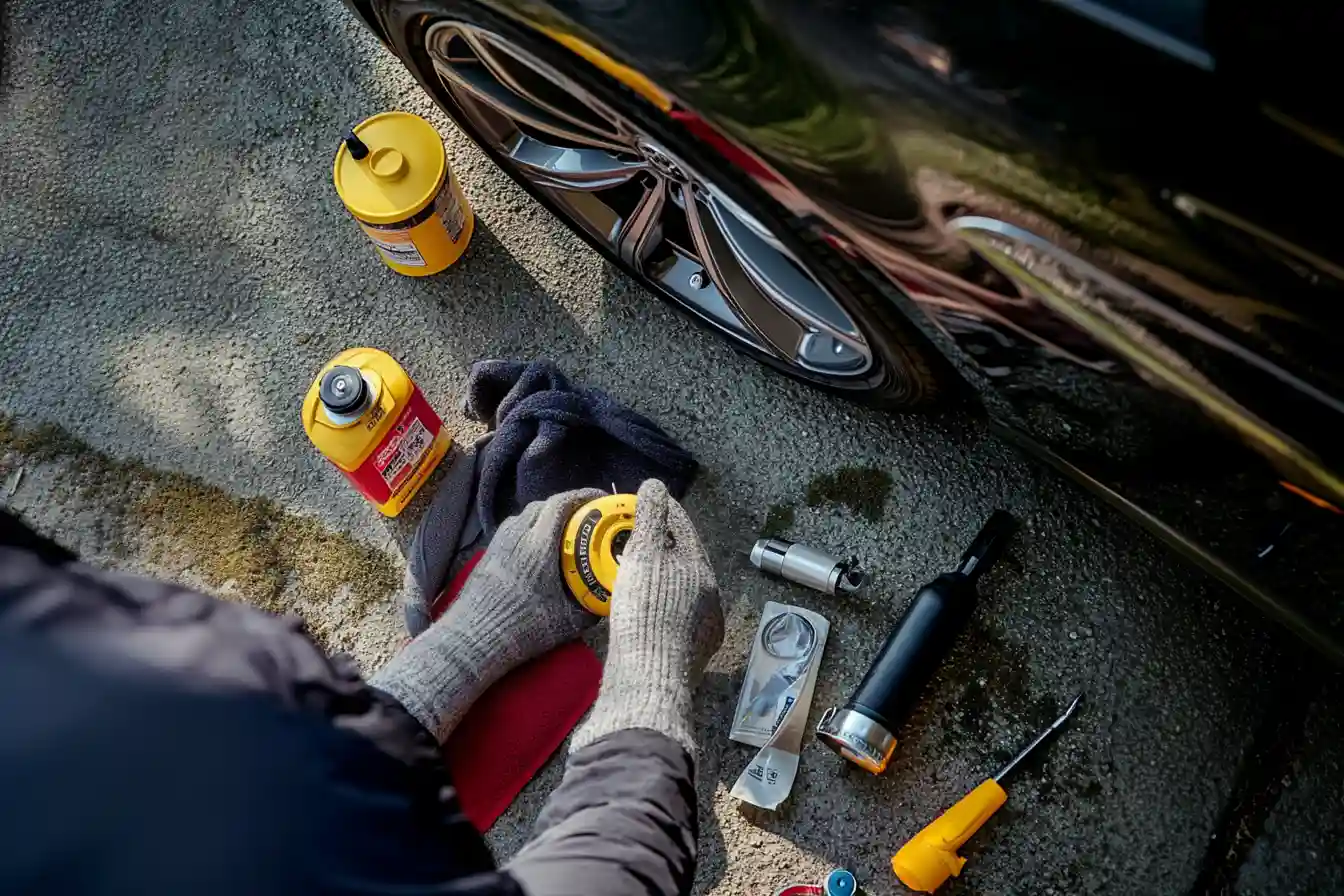
Step 1: Decontamination. We chemically clean the entire wheel to remove brake dust, embedded iron deposits, and silicone-based tire shine products. Skipping this step is the number one reason repairs fail; contaminants trapped beneath new paint cause peeling within months.
Step 2: Masking. We carefully mask the tire bead area to prevent overspray. If the tire is not being removed, this step requires precision to protect the rubber while allowing full access to the damaged rim lip.
Step 3: Grinding and Sanding. Using a specialized sander, we smooth out jagged aluminum edges. We step down through abrasive grits, starting at 80 grit for material removal, then 180 for shaping, and finally 320 for feathering, until the damaged area blends perfectly into the surrounding surface.
Step 4: Filling (If Needed). For deep gouges where material has been lost, we usually apply reinforced aluminum putty and weld the rim. This is not standard body filler; it is a metal-infused compound specifically designed to bond with alloy wheels and withstand the thermal cycling your brakes create.
Step 5: Priming. A high-build primer seals the exposed metal and creates a smooth foundation for the colour coat. This layer is critical for preventing future corrosion from starting beneath your new finish.
Step 6: Color Matching. This is where experience matters most. We mix the base coat to match your specific manufacturer code, whether it is a Tesla Satin Black, BMW Ferric Grey, Mercedes Tremolite Grey, or Audi Titanium. Factory wheels often have subtle metallic flakes or pearl effects that require trained eyes to replicate.
Step 7: Painting. The base coat is applied in multiple thin, even layers. Rushing this step with thick coats causes orange peel texture and poor adhesion. We build up colour gradually to achieve seamless blending with the original finish.
Step 8: Clear Coating. We seal the repair with a high-solids, UV-resistant 2K clear coat. This is the protective shell that locks everything in place and provides the gloss (or satin matte) finish that matches your wheel.
Step 9: Curing. Using portable infrared heating equipment, we cure the finish to ensure proper chemical crosslinking. This step is essential in Canadian conditions; air-drying in a cold parking lot results in inferior adhesion and durability.
Any shop or mobile service that skips steps or uses consumer-grade materials is setting you up for a repair that fails within the year.
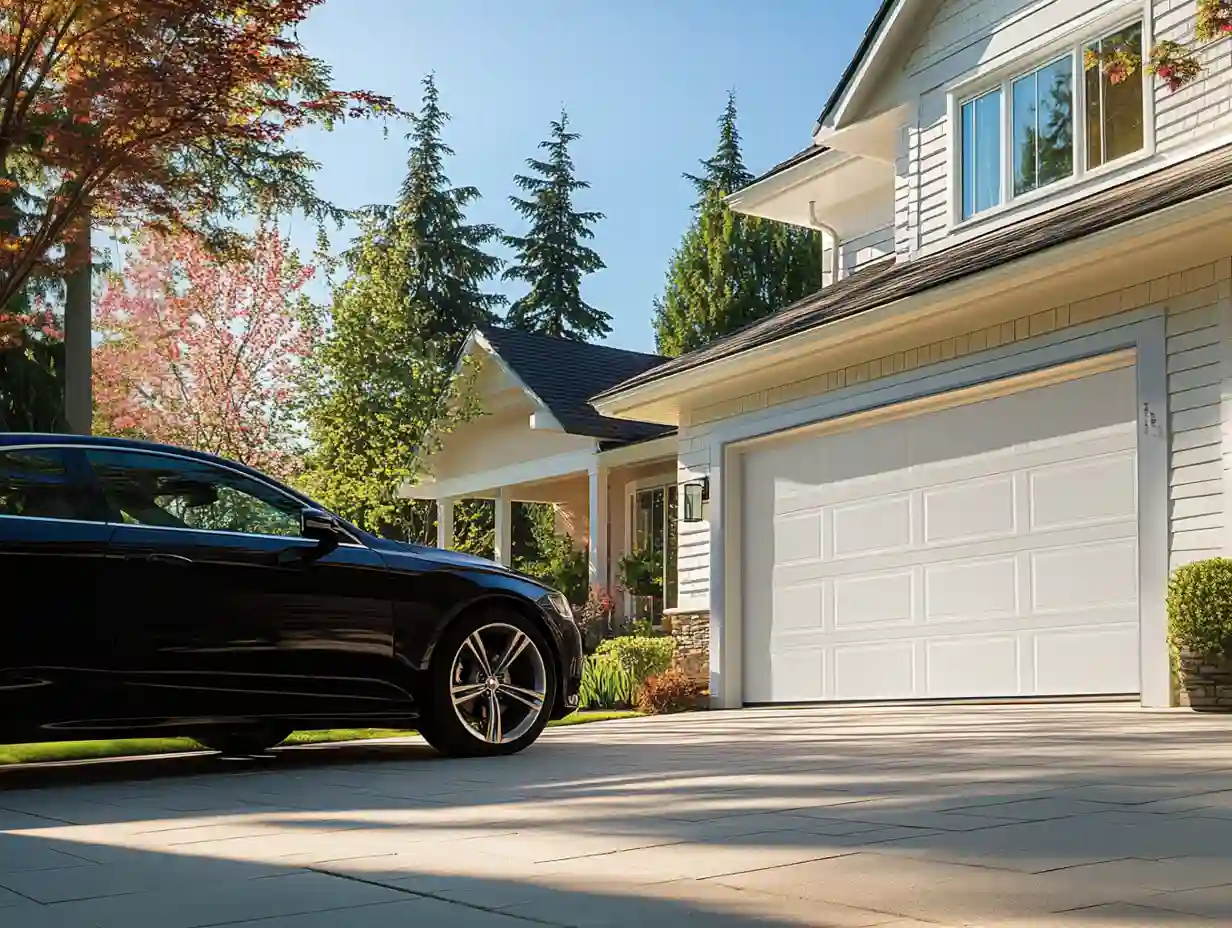
Tip 5: Choose Mobile Service for Convenience Without Compromise
For most drivers in North York, Etobicoke, Scarborough, Mississauga, and Vaughan, losing a vehicle for three days to a body shop is simply not practical. This is why mobile rim repair Toronto services have become the standard for curb rash.
Our mobile units are workshops on wheels. We carry onboard compressors, professional spray equipment, spectrophotometer color matching systems, and infrared curing lights. This allows us to perform the complete 9-step alloy wheel restoration process in your driveway or office parking lot in under an hour per wheel.
The quality of properly-equipped mobile work matches shop-based repairs. Dealerships across the GTA rely on mobile services to restore trade-in vehicles before they hit the sales floor, the same standard of work we deliver to private vehicle owners.
One important note: extreme weather affects results. While we can work in most conditions, high humidity days or freezing rain can compromise paint curing. During the coldest weeks of January and February, we may recommend a shop-based repair for maximum durability. We will always be honest about what conditions allow.
Tip 6: Address Damage Early to Prevent Escalation
Timing matters more than most drivers realize. That small scratch from last weekend is exposing bare aluminum to Toronto’s harsh environment right now.
In our freeze-thaw climate, water seeps into those tiny imperfections during the day, then expands as temperatures drop overnight. Road salt accelerates corrosion aggressively. We have seen minor January scuffs become significant oxidation patches by March, requiring far more extensive restoration work and higher costs.
If you notice new damage, clean the area immediately with soap and water to remove road salt and debris. If you cannot get professional curb rash repair within a week, applying a thin layer of clear nail polish over exposed metal can provide temporary protection. This is not a permanent solution, but it buys you time until proper repair can be scheduled.
Tip 7: Prevent Future Damage With These Professional Techniques
Once you have invested to fix scratched rims, you want to keep them looking pristine. Here are the techniques we recommend to our clients:
Adjust Your Mirrors Strategically. When parallel parking, tilt your passenger-side mirror downward so you can see the rear tire relative to the curb. Many modern vehicles do this automatically when you shift into reverse. Check your settings to ensure this feature is enabled.
Consider Rim Protectors. These are sacrificial plastic or rubber rings that bond to the outer edge of your wheel. If you contact a curb, the protector takes the impact instead of your alloy. They cost around fifty dollars per set and can prevent hundreds in future repair costs.
Check Tire Specifications. Some tires feature a built-in “rim protection bar”, a raised rubber ridge that protrudes slightly past the rim face. When purchasing new tires, ask your installer about options with this feature. It provides a buffer between your expensive wheels and unforgiving concrete.
Use Parking Technology. Backup cameras and parking sensors exist for a reason. Trust them. If your vehicle lacks these features, consider aftermarket options. They pay for themselves with a single avoided curb strike.
When Repair Is Not the Right Answer
Professional integrity requires acknowledging limitations. Certain damage exceeds what responsible repair can address safely.
Cracks that extend from the rim lip toward spoke mounting areas compromise structural integrity. Severe bends that cannot be straightened without stressing the metal beyond safe limits require replacement. Widespread corrosion that has eaten into the alloy beneath the surface cannot be reliably repaired.
During every service call, we inspect wheels comprehensively. If we determine that a repair would not be safe or lasting, we tell you directly. We would rather lose a repair fee than put you on the road with a wheel that could fail. This is why dealerships trust us with their inventory, and why you can trust us with your personal vehicle.
Take Action on Your Damaged Wheels Today
Curb rash repair does not need to be complicated, expensive, or inconvenient. Professional mobile service brings expert alloy wheel restoration directly to you, eliminates days of downtime, and delivers factory-quality results that protect your vehicle’s value for years.
If your wheels have suffered scrapes, scuffs, or gouges from Toronto’s challenging roads and tight parking situations, reach out for a free assessment. Send a photo of your damage and receive an honest evaluation and transparent quote within hours.
Your wheels are often the first detail people notice about your vehicle. Make sure they are making the right impression.